Introduction
Overview of DJI Fly App
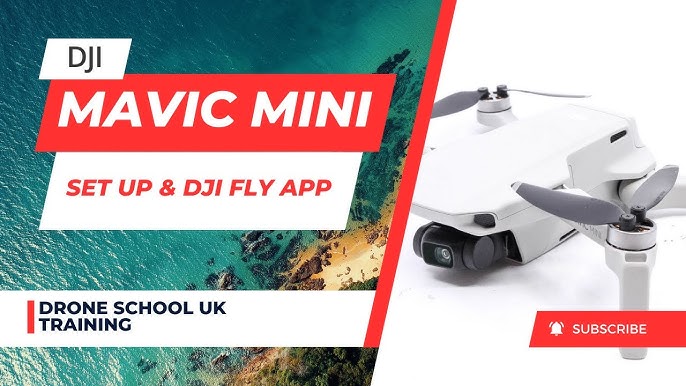
The DJI Fly App enhances your drone flying experience by providing a user-friendly interface while also being packed with advanced features. Whether you’re a seasoned pilot or just getting started, this app is designed to make flying your DJI drone as smooth as possible. From real-time flight data to custom camera settings, you’ll find everything you need in this compact tool. The app supports a range of DJI drones, including the Mavic Mini and the Mavic Air 2, aiming to simplify the way you interact with your drone. When you launch the app, the intuitive layout guides you through every aspect of your flight, ensuring you feel comfortable, even if you’re new to aerial photography or videography. In addition, the DJI Fly App offers tutorial guides and tips within the interface to help you understand all its functionalities—from taking off to landing safely. It’s almost like having a personal assistant by your side, ready to give you all the guidance you need.
Benefits of Using DJI Fly App
Using the DJI Fly App comes with numerous advantages that enrich your flying experience. Here are some of the key benefits:
- User-Friendly Interface: The app is designed with simplicity in mind. You won’t have to sift through complicated menus or settings. Everything is neat and accessible, making it easier for beginners and experienced users alike.
- Real-Time Data Access: The app provides essential flight data such as distance, height, battery life, and more. You won’t be left guessing how much longer you can stay in the air; the app keeps you updated at all times.
- Safety Features: Important pre-flight checks and safety features are integrated into the app. A basic checklist will pop up, ensuring you don’t overlook any critical aspects before takeoff. It’s impossible to stress enough how vital these safety precautions are!
- Advanced Camera Controls: From exposure settings to white balance adjustments, the DJI Fly App lets you take complete control of your drone’s camera. Whether you’re looking to capture stunning sunset shots or crisp landscapes, you can tailor your settings according to the conditions.
- Intelligent Flight Modes: The app also includes intelligent flight modes like ActiveTrack and QuickShots. These modes allow you to engage the drone with easy, automated flight paths while you focus on getting the perfect shot.
- Editing and Sharing: After collecting that perfect footage, the DJI Fly App allows for basic editing and even sharing options directly to your social media accounts. Say goodbye to the hassle of transferring files, making it a breeze to showcase your aerial masterpieces.
These features create a well-rounded experience that’s both fun and functional. Just like when I first took my Mavic Mini for a spin using the DJI Fly App—everything felt seamless, and within minutes, I was capturing mesmerizing views of my local landscape. Each flight felt like an adventure, and that’s what this app helps you achieve! 🔥 With this overview and the amazing benefits in mind, you’re already on your way to mastering the DJI Fly App and taking your drone flying to a whole new level!
Getting Started with DJI Fly App
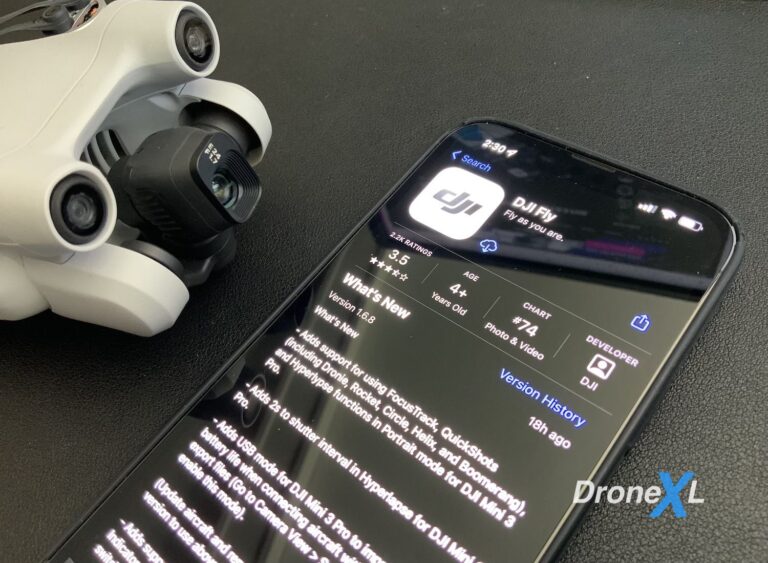
Downloading and Installing the App
Now that you’re familiar with the DJI Fly App’s advantages, it’s time to get you set up! Downloading and installing the app is a straightforward process, whether you’re using iOS or Android.
- Visit the App Store:
- For iOS users, head over to the Apple App Store.
- Android users should navigate to the Google Play Store.
- Search for the DJI Fly App:
- Simply type “DJI Fly” in the search bar.
- Select the app from the list (make sure it’s the official one by DJI).
- Download and Install:
- Click the “Download” or “Install” button.
- Wait for the app to download and install on your device. This usually takes just a few moments, depending on your internet connection.
- Open the App:
- Once installed, find the app icon on your home screen and tap to open it.
As soon as I first downloaded the app, I was amazed at how quickly I could get started. With the installation complete, I felt a wave of excitement as I anticipated my inaugural flight!
Setting Up Your Account
The next essential step is setting up your DJI account, which connects you with the broader DJI ecosystem and saves your flight data. Setting up an account is quick and easy:
- Sign In or Create an Account:
- When you open the app, you’ll be prompted to either sign in or create a new account.
- If you’re new, tap on “Create Account.”
- Provide Required Information:
- Fill in essential details—like your email, a secure password, and your location.
- This information is used for account recovery, updates, and to tailor the app experience for you.
- Verify Your Email:
- After entering your details, the app will send a verification email to the address you provided.
- Be sure to check your spam folder if you don’t see it right away! Click the link in the email to confirm your account.
- Log In:
- Once your account is verified, you can log in to the app using your new credentials.
- Optional Profile Settings:
- You can also choose to set up your profile with additional information if you want. This could include preferences for notifications or feature updates.
By setting up your account, you not only secure your access but also open up a world of community benefits and updates from DJI. When I created my account, I was thrilled to find that I could easily keep track of my flights and access tutorials—everything began to feel interconnected! With the app downloaded and your account set up, you’re just a few steps away from taking to the skies. Get ready to explore the exciting world of aerial photography and videography with your DJI drone! ✈️
Main Interface and Navigation
Understanding the Home Screen
Now that you’re all set up and ready to explore, let’s dive into the DJI Fly App’s main interface! The home screen is your command center; everything you need for a successful flight is just a tap away. Upon launching the app, you’ll be greeted with a clean and organized layout. Here are some key sections you’ll find on the home screen:
- Flight Information Zone:
- This area displays essential flight data, such as battery life, GPS signal strength, and current altitude. Keeping an eye on these metrics helps you stay informed throughout your flight.
- Camera Viewfinder:
- The central section showcases what the camera sees in real-time. This is where you’ll frame your shots and adjust the camera settings, so make sure this area always looks crisp and clear!
- Control Pad:
- At the bottom of the screen, you have your control buttons, including takeoff, landing, and emergency stop. These are essential for smooth and safe operation, so familiarize yourself with their location before taking off.
- Quick Access Toolbar:
- Located around the edges of the screen, the toolbar gives you quick access to various features, such as playback for video footage, access to settings, and switching flight modes. This makes it easy to change settings on the fly.
When I first opened the home screen, the intuitive design immediately put me at ease. I could easily spot everything I needed for my first flight, and I didn’t feel overwhelmed by unnecessary elements on the screen.
Navigating Menus and Settings
Navigating the menus in the DJI Fly App is a breeze, which is great news for newbies! Here’s how to find your way around and make the most of the app’s features:
- Accessing the Menu:
- Tap the three horizontal lines (hamburger icon) at the top left corner of the screen to open the side menu.
- You’ll see options like ‘Camera Settings,’ ‘Flight Modes,’ ‘Safety,’ and ‘User Profile.’
- Adjusting Camera Settings:
- Under the ‘Camera Settings’ option, you can fine-tune exposure, shutter speed, and ISO. This allows you to capture stunning images, regardless of lighting conditions.
- Exploring Flight Modes:
- In the flight modes section, you can select from various intelligent features like QuickShots or ActiveTrack, which make flying more dynamic.
- Just a tap, and your drone can follow you while you cycle or take those breathtaking group shots effortlessly!
- Safety Settings:
- Don’t skip the safety settings! This section allows you to set geofencing, altitude limitations, and other safety features to ensure a secure flying experience.
- User Profile:
- Your user profile keeps track of your flight data and achievements. It’s a nice touch to see your progress, and it can even motivate you to reach new heights!
Navigating through these menus became second nature for me as I practiced. Each section felt thoughtfully placed, meaning I could switch settings without skipping a beat. With a solid understanding of the home screen and menus, you’ll feel confident and prepared to take control of your drone. Soon enough, you’ll be capturing breathtaking vistas and unforgettable moments! 🌄
Flight Controls and Settings
Learning Basic Flight Controls
As you prepare to take to the skies, understanding flight controls is crucial. Luckily, the DJI Fly App helps you navigate these controls with ease. Let’s break it down! Basic Control Layout:
- Left Stick: Controls altitude and rotation.
- Push up to ascend, pull down to descend.
- Move left or right to rotate the drone.
- Right Stick: Manages horizontal movement.
- Push up to move forward, pull back to go backward.
- Move left and right for lateral movement.
- Takeoff and Landing Buttons:
- A single tap on the takeoff button lifts your drone into the air.
- For landing, tap the landing button—it’s as simple as that!
Practice is Key: When I first got my drone, I spent some time in an open space practicing these controls. It felt a bit intimidating navigating these sticks, but gradually, I started to gain confidence. I’d recommend finding a flat, open area with minimal obstacles to start. Helpful Tips for Beginners:
- Avoid Quick Movements: Moving the sticks too quickly can lead to overcorrection. Start slow.
- Utilize the ‘Return to Home’ Feature: Familiarize yourself with this feature before your flight. It automatically brings your drone back to its launch point if you lose control.
- Stay Calm if You Lose Orientation: If you find yourself confused about which way your drone is facing, push the right stick down slowly to descend, and regain control.
Customizing Aircraft Settings
Once you’ve mastered the basic flight controls, it’s time to customize your aircraft settings. This aspect of the DJI Fly App really allows you to tailor the experience to your liking. Key Settings to Customize:
- Gyro Sensitivity: Adjusting this setting changes how responsive your drone reacts to your controls.
- Increase sensitivity for fast maneuvers.
- Decrease it for a smoother flight experience, especially when you’re just starting out.
- Max Altitude and Distance: Set boundaries for your flights.
- Determine how high and how far the drone can go. This can prevent accidents and help with safety during your early flights.
- Camera Settings: Take the time to adjust ISO, shutter speed, and white balance according to your shooting conditions.
- For instance, in bright daylight, you might want a higher shutter speed for clearer images without blurriness.
- Battery Settings: Set alerts for battery levels, ensuring you’re notified when it’s time to head back. You can also calibrate your battery to get the most out of each flight.
When I set up my aircraft settings, I felt like a pilot customizing my own airplane! The freedom to tweak these settings gave me a sense of ownership and control. Experimenting with these options can dramatically enhance your flying experience. It might take a few tries to get everything just right, but with practice and patience, you’ll quickly find what works best for you. As you continue to develop your flying skills, you’ll appreciate how these customized settings contribute to a smoother and more enjoyable experience! 🚁✨
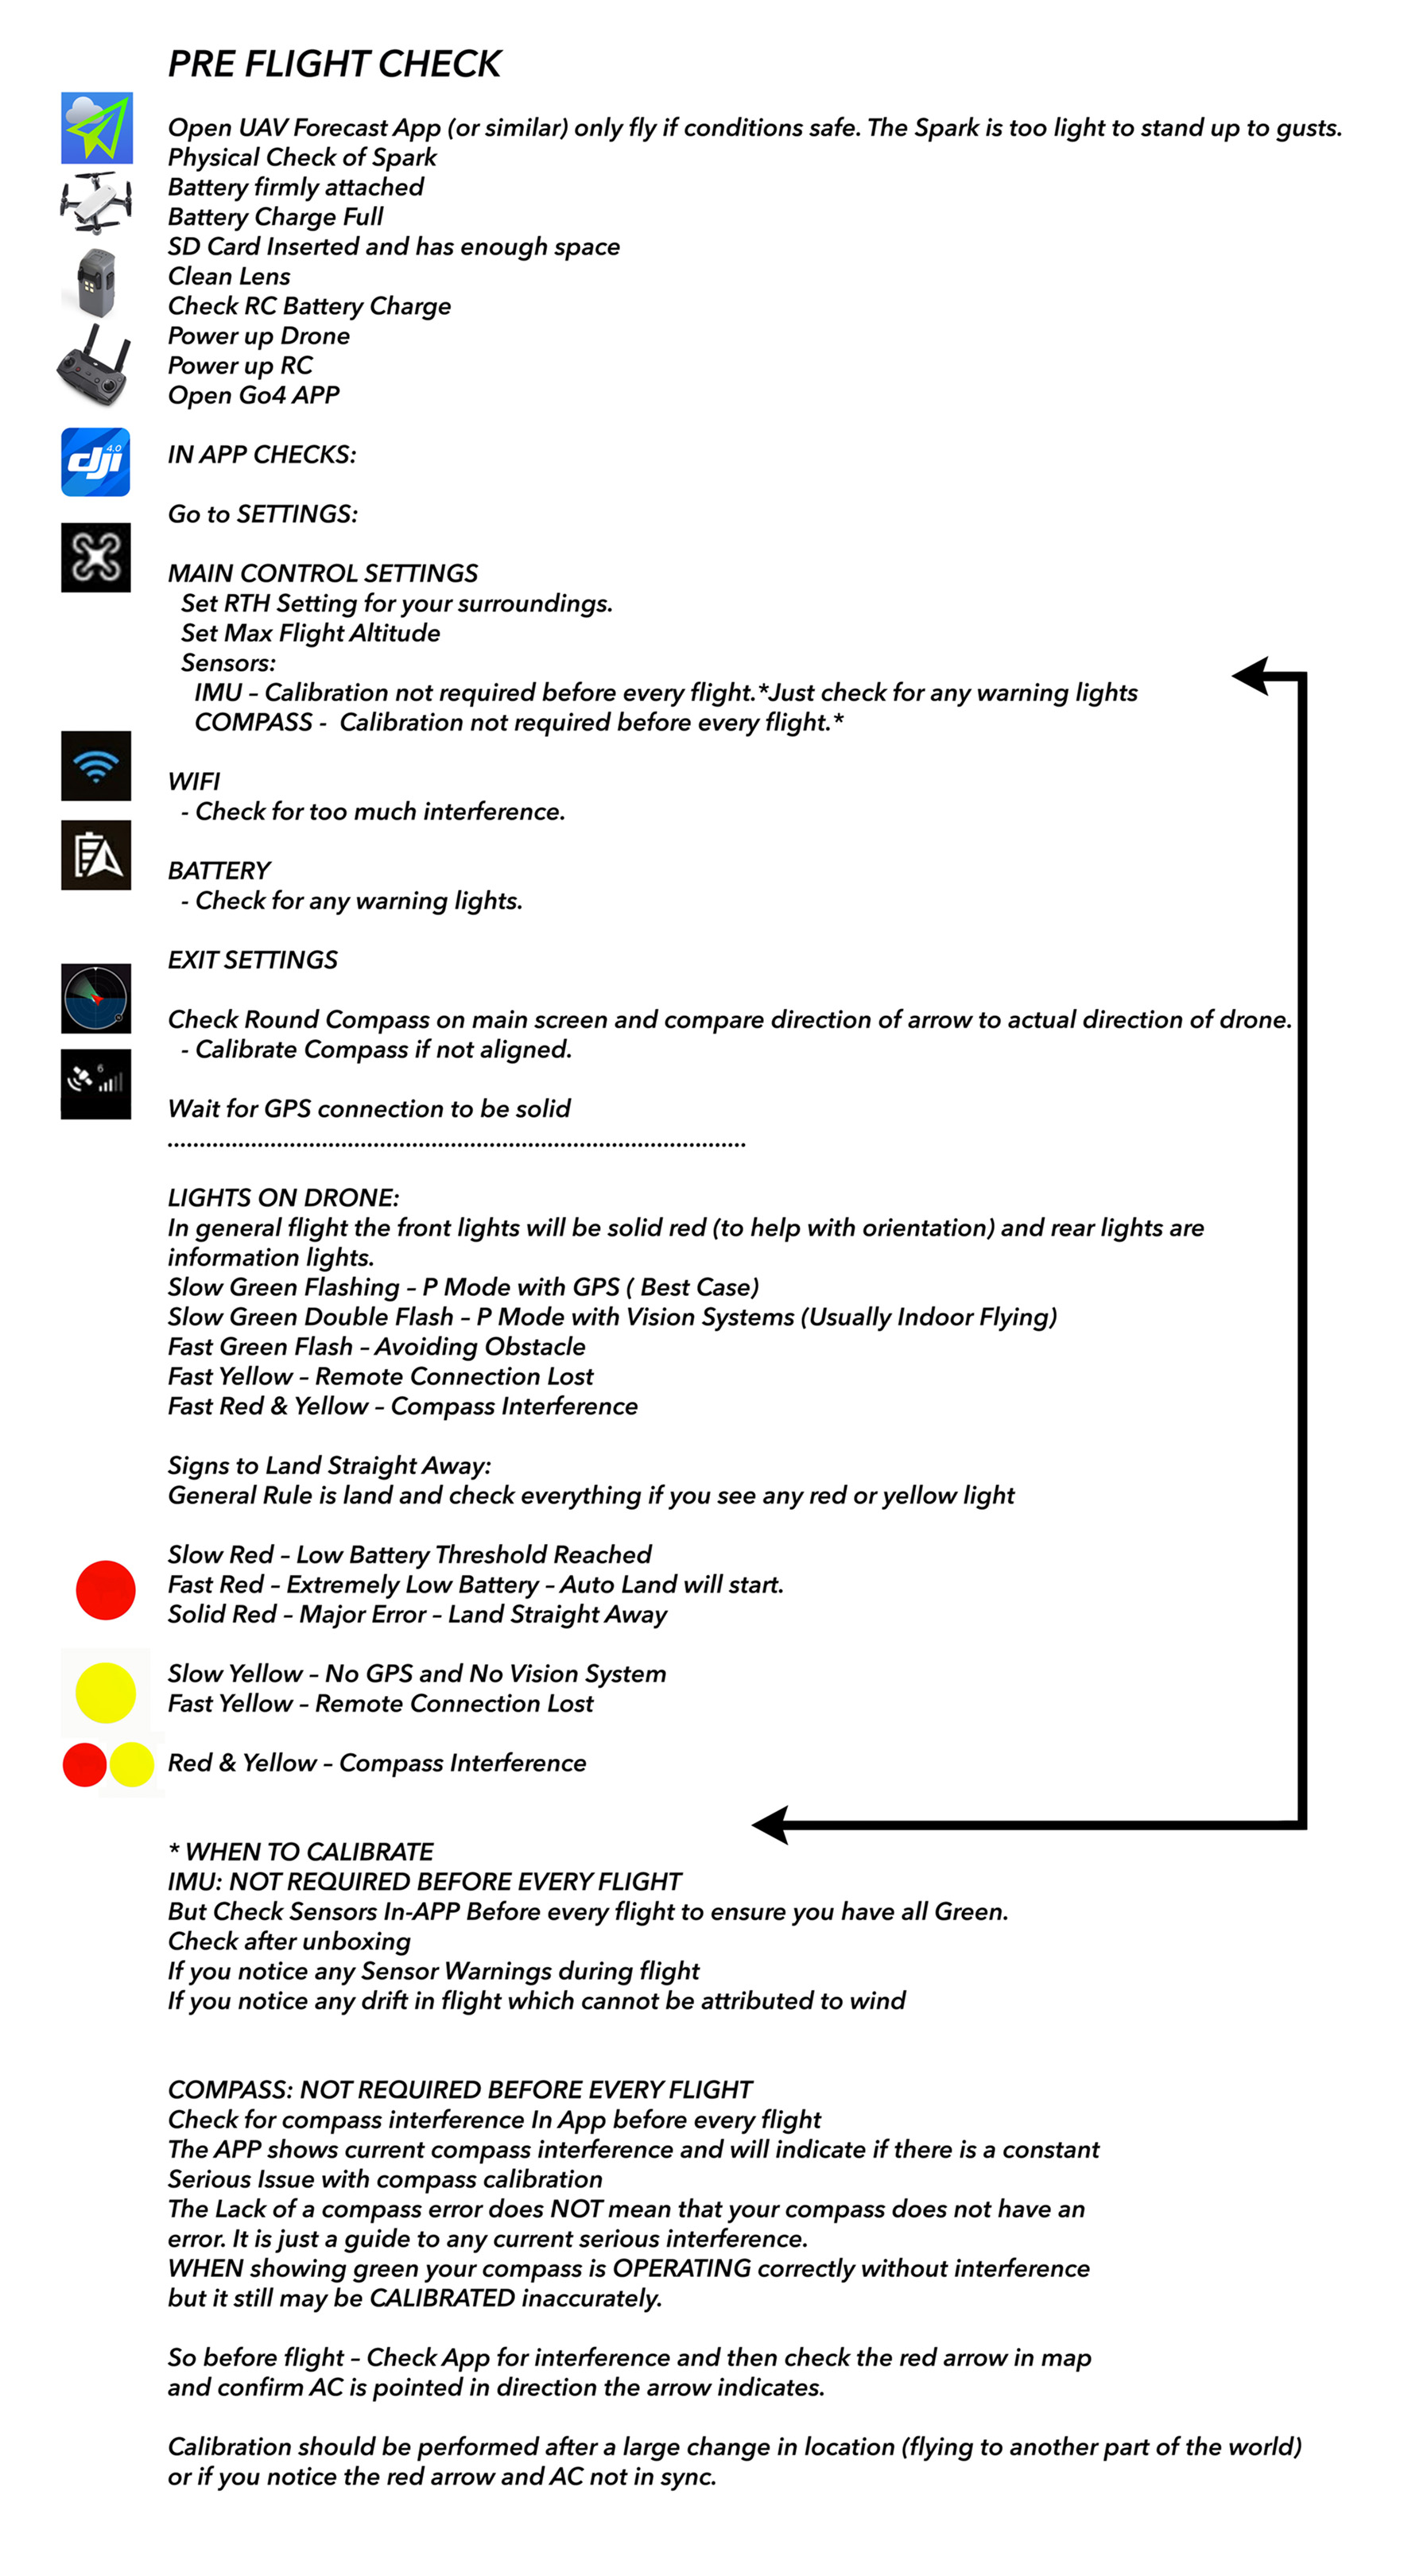
Pre-flight Checklist and Safety Features
Basic Pre-flight Checklist
Before launching into the sky, it’s vital to complete a pre-flight checklist to ensure a smooth and safe experience. Trust me, I’ve learned this the hard way—taking a moment to double-check everything can save you from headaches later on! Here’s a simple pre-flight checklist you can follow:
- Inspect the Drone:
- Check for any visible damage or loose parts.
- Make sure the propellers are secure and not cracked.
- Battery Check:
- Ensure your drone battery is fully charged.
- Don’t forget to check the remote controller’s battery as well!
- GPS Signal:
- Confirm that your drone has a strong GPS signal before takeoff. You’ll want at least 6–8 satellites for a stable flight.
- Flight Environment:
- Look for any nearby obstacles or hazards.
- Ensure you have enough open space to take off and land safely!
- Weather Conditions:
- Check wind speed, temperature, and weather forecasts before your flight. Avoid flying in rainy or extremely windy conditions.
- Calibration:
- Calibrate the compass and IMU (Inertial Measurement Unit) if you’ve moved to a new location. This ensures your drone knows its orientation.
When I first started, I was eager to fly, and I barely glanced at the checklist. But after a quick mishap with a tree on my first flight, I adopted the habit of going through my checklist every single time. Now, it’s second nature, like routine stretching before a workout!
Utilizing Safety Features in the App
In addition to the pre-flight checklist, DJI Fly App offers several safety features to enhance your flying experience. Familiarizing yourself with these tools can keep your drone intact and flying safely. Key Safety Features:
- Geofencing:
- This feature restricts your drone from flying in designated no-fly zones, like airports or restricted land. Always pay attention to these warnings to stay compliant with regulations!
- Altitude Limits:
- You can set maximum altitude settings in the app. By keeping your flights under regulation limits (usually 400 feet), you’ll avoid interfering with manned aircraft.
- Smart Return to Home:
- Activated automatically when your battery reaches a critical level or you lose connection. This can significantly reduce the chances of losing your drone!
- Warning Notifications:
- The app provides alerts for low battery, poor GPS signal, or obstacles in the path. Pay attention to these alerts while flying to ensure your drone’s safety.
- Flight History Tracking:
- Use this feature to review past flights, check performance data, and look out for any issues. Analyzing previous flights can help improve your skills over time.
I remember my first time using the geofencing feature; it felt like having an invisible safety net protecting me from accidentally flying into restricted areas. Coupled with the Return to Home option, I found great peace of mind knowing I had backup plans in case anything went wrong. Before you take off, always conduct that pre-flight checklist and familiarize yourself with all safety features available in the DJI Fly App. Trust me; it makes flying way more enjoyable when you know you’re well-prepared! 🛡️✨
Camera Settings and Functions
Adjusting Camera Settings
Now that you’re familiar with pre-flight checks and safety features, let’s delve into one of the most exciting parts of flying your DJI drone: the camera settings! Capturing breathtaking aerial shots is one of the main reasons why many of us get into drone flying, and being able to adjust camera settings can significantly improve the quality of your photos and videos. Key Camera Settings to Adjust:
- Resolution and Frame Rate:
- You can typically choose between 1080p, 2.7K, and 4K resolution settings.
- For video, consider selecting a higher frame rate (e.g., 60fps for smooth motion) if you’re capturing fast-moving subjects.
- ISO Settings:
- The ISO controls your camera’s sensitivity to light. A lower ISO (like 100) is great for bright days, while a higher ISO (like 800 or more) can be useful in lower light situations.
- Just be cautious: higher ISO can introduce noise into your images.
- Shutter Speed:
- A basic rule of thumb is to set your shutter speed at double the frame rate of your video. For instance, if you’re shooting at 30fps, your shutter speed should be around 1/60 sec.
- This helps you achieve more natural motion blur.
- White Balance:
- Adjusting white balance helps achieve the right color tone in your images. On sunny days, using the Daylight option simplifies the process.
- For cloudy or shady conditions, choose Cloudy or Shade to keep colors looking natural.
- Exposure Compensation:
- If your shots are consistently overexposed or underexposed, adjust the exposure compensation. A small tweak can make a big difference in your final image!
When I first started flying, I was unsure where to begin with the camera settings. After experimenting with different configurations, I began to see a wisdom in adjusting settings according to the light and environment. It was empowering to watch my skills grow and the quality of my photos improve!
Exploring Shooting Modes
Beyond just the basic settings, the DJI Fly App offers a range of shooting modes that can add creativity to your flights. Each mode is designed for specific scenarios, making it easier to capture stunning content. Popular Shooting Modes:
- Photo Modes:
- Single Shot: Capture standard still images.
- HDR Shot: Great for high-contrast scenes; it captures multiple images and combines them for optimal relief.
- Burst Mode: Takes several shots in rapid succession, perfect for action shots.
- Video Modes:
- Normal Video: Standard recording mode for continuous footage.
- Slow Motion: Captures action in detail, allowing you to view moments you might miss in real-time.
- Intelligent Modes:
- ActiveTrack: This mode lets your drone automatically follow you or a selected object while keeping it in focus. Perfect for those outdoor adventures!
- QuickShots: Includes various automated shots, like Dronie, Rocket, and Circle, making it easy to capture stunning video clips without much effort.
- Timelapse and Hyperlapse:
- These modes are excellent for showing the passage of time, such as a sunset or bustling city scene.
When I first tried the ActiveTrack mode while cycling through a scenic park, I was blown away by how effortlessly my drone captured my movement and kept every shot crisp. It felt like I had a personal film crew following me! Taking the time to adjust your camera settings and explore various shooting modes can make your aerial photography truly remarkable. Play around with these features on your next flight, and you may just surprise yourself with the stunning results! 🎥🌅

Intelligent Flight Modes
Understanding Intelligent Flight Modes
As you dive deeper into the DJI Fly App’s capabilities, one of the most exciting features you’ll encounter is the Intelligent Flight Modes. These modes are designed to enhance your flying experience and help you capture stunning footage with minimal effort. If you’ve ever dreamt of flying like a pro without having years of experience under your belt, these modes are for you! Intelligent Flight Modes allow your drone to autonomously follow predefined paths or focus on subjects, making it a great tool for capturing dynamic shots and creative video content. Here are a few key modes you should know about:
- ActiveTrack:
- This mode allows the drone to automatically follow you or an object you select, maintaining a safe distance while keeping the subject in frame.
- Point of Interest:
- Your drone will circle around a selected object or location, making it perfect for establishing shots or showcasing landmarks.
- Waypoints:
- Plan out a flight path by setting specific points for your drone to follow. This is useful for shooting in a particular area or creating smooth, preset flight paths.
- Dronie:
- The drone will automatically fly backward and upward while keeping you in the frame, creating a dramatic reveal effect.
Having dabbled in these modes myself, I can tell you they transform the way you approach drone photography. Instead of manually controlling every move, I could focus more on the composition and feel of the shot, letting the drone do the heavy lifting.
How to Use ActiveTrack and QuickShots
Let’s focus on two of the most popular and user-friendly intelligent flight features: ActiveTrack and QuickShots. Using ActiveTrack:
- Start the Drone: Launch your drone and ensure it’s in a stable hover.
- Select the Subject: On the live camera view, tap on the person or object you wish your drone to track. Your drone will recognize the subject and highlight it with a box.
- Choose Tracking Mode: The app provides three tracking options:
- Trace: The drone follows the selected subject from behind or in front.
- Profile: The drone flies next to the subject, keeping it centered in the frame, which is perfect for a more dynamic perspective.
- Spotlight: The drone maintains its position while allowing you to control the flight direction. This is great for panoramic shots of stationary subjects.
Using QuickShots:
- Tap “QuickShots” in the app after launching your drone.
- Choose a Mode:
- Select from options like Dronie, Rocket, Circle, or Helix.
- Follow the Prompts: The app will guide you through the steps based on your selected mode. For example, if you choose Dronie, it will prompt you to raise the drone to an appropriate height.
- Let It Fly: Once the mode is activated, relax and watch as your drone captures the scene with beautifully choreographed movements!
The first time I used ActiveTrack, I was mountain biking with friends. To my excitement, my Mavic Mini followed me through the trails, capturing some epic shots without requiring my constant attention. Both ActiveTrack and QuickShots are game-changers, especially for budding drone photographers or vloggers. With these features, capturing impressive content becomes intuitive and fun, allowing you to focus on what truly matters: enjoying the moment! 🛩️📸

Editing and Sharing Features
Editing Photos and Videos
After capturing breathtaking aerial footage and stunning photographs, the next exciting step is editing! The DJI Fly App comes with built-in editing tools that allow you to enhance your media seamlessly, right from your smartphone. Editing Photos:
- Crop and Rotate: Want the perfect composition? Easily crop and rotate your images to remove distractions and center your subject.
- Adjust Exposure, Contrast, and Saturation: Fine-tune your images by adjusting these settings to make your photos pop. For instance, increasing the saturation can make colors appear more vivid.
- Filters: The app offers various filters that can instantly transform your images to give them a unique flair. Experimenting with these can create dramatic effects in no time.
Editing Videos:
- Trim and Split: Remove unwanted segments at the beginning or end of your video to keep the essentials. Splitting clips allows for selective editing and creating smooth transitions.
- Add Music: The app includes a selection of royalty-free music tracks. You can easily layer these over your video to enhance the ambiance.
- Speed Adjustment: Speed up or slow down certain parts of your video for dramatic effect. This is especially useful when demonstrating fast-paced action or beautiful scenery in slow motion.
The first time I ventured into video editing, I was amazed at how quickly I was able to put together a highlight reel of my drone adventure. I trimmed out segments where we were just setting up or stopped for a snack, added a peppy soundtrack, and before I knew it, I had a cohesive video.
Sharing Content on Social Media
Once you’ve edited your masterpieces to perfection, sharing them with the world is the icing on the cake! The DJI Fly App offers seamless sharing options so you can get your content out there without any hassles. Social Media Integration:
- Direct Sharing: After editing, simply tap the share button and choose your preferred platform, be it Instagram, Facebook, or TikTok. The app easily formats your content for each platform, saving you time and effort.
- Customize Captions: Add engaging captions or hashtags to your posts to elevate discoverability. Including location tags can also help others find your stunning aerial locations!
Export Options:
- Resolution Options: Choose the resolution for your exports based on where you’re sharing. Higher resolutions might be great for platforms that support it, but lowering the resolution can speed up uploads on slower connections.
- Create Stories: The app allows you to create slideshow-style stories. This format is ideal for Instagram and can capture your audience’s attention quickly.
When I shared my first drone video on social media, I felt like a proud parent! My friends and family loved it, and soon it caught the attention of fellow drone enthusiasts. Being able to edit and share directly from the DJI Fly App not only streamlines the process but also makes it more enjoyable. So, as you dive into editing, don’t forget to share those beautiful moments with the world—your aerial adventures deserve to be seen! 🌍✨
Troubleshooting Common Issues
Common Problems and Solutions
Every drone pilot, whether a novice or a seasoned flyer, encounters issues from time to time. The good news? Most problems are easy to troubleshoot with a little guidance. Here are some common issues you might face while using the DJI Fly App, along with their solutions.
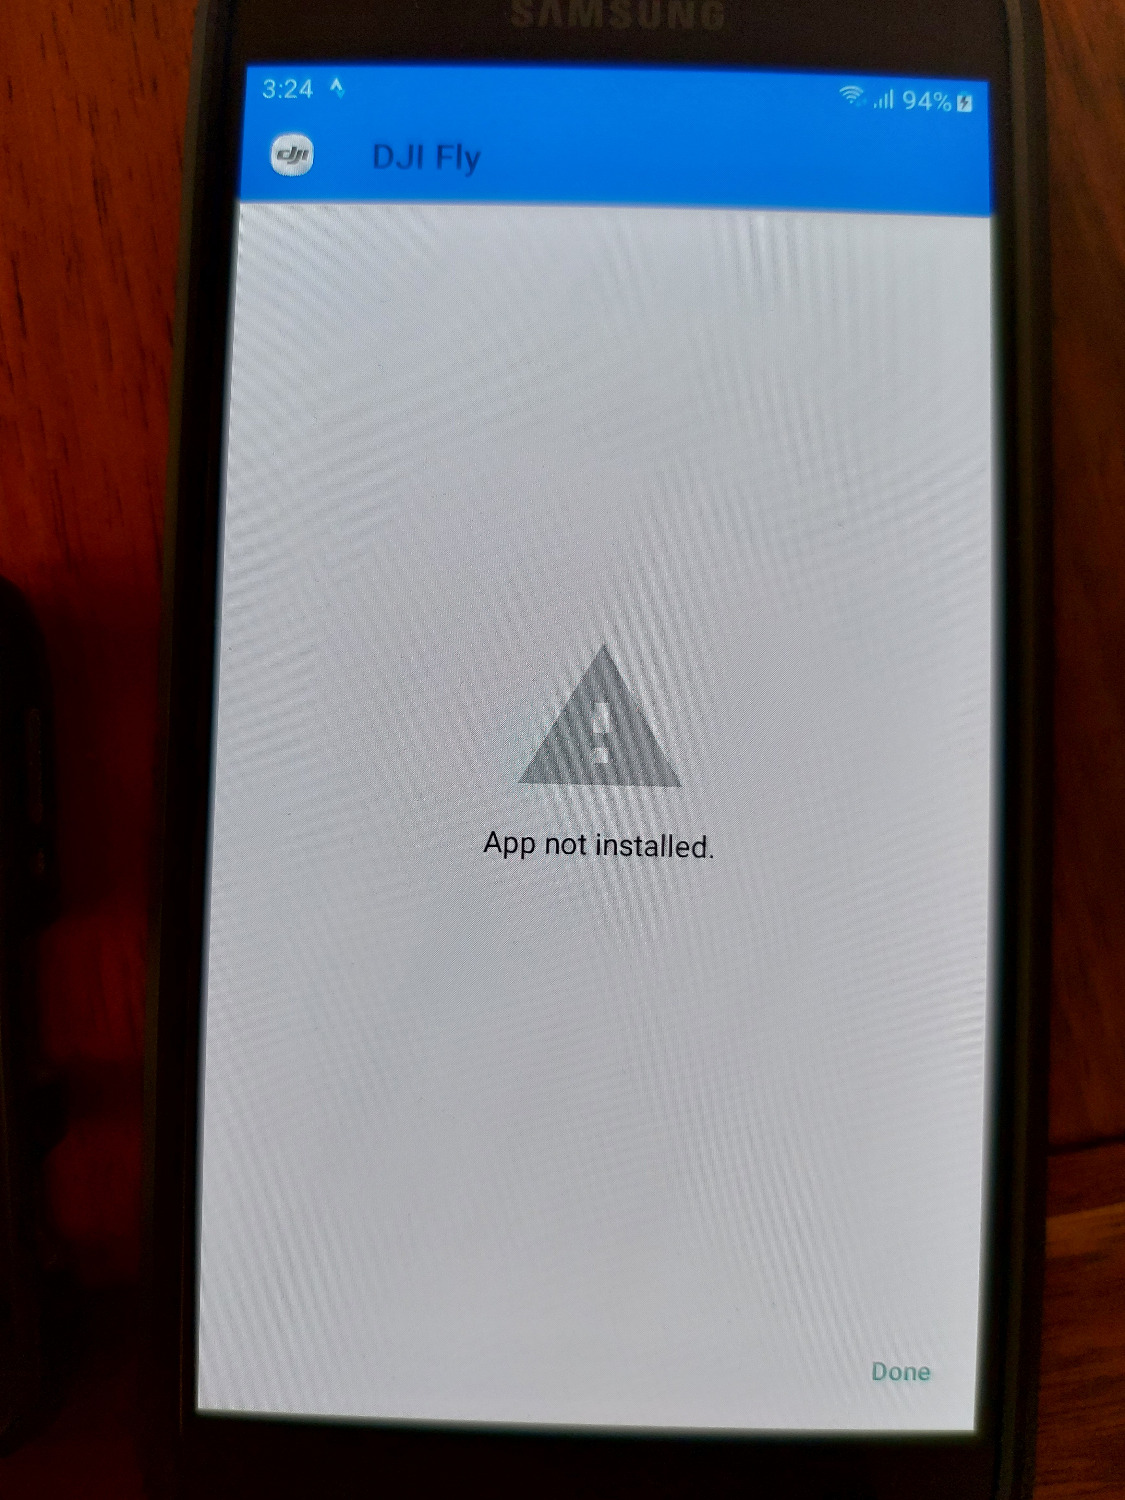
- Drone Won’t Connect to the App:
- Solutions:
- Ensure Bluetooth is enabled on your device, as connectivity issues often stem from this simple oversight.
- Restart both the drone and the app to refresh the connection.
- Check for app updates in your app store. A newer version may resolve connectivity issues.
- Solutions:
- Loss of GPS Signal:
- Solutions:
- Make sure you are in an open area away from tall buildings or large crowds that may block the satellite signal.
- Check that the drone is powered on and fully calibrated. Sometimes, recalibrating the compass can help restore GPS.
- Solutions:
- Battery Drain Issues:
- Solutions:
- Always ensure that you are using high-quality batteries from DJI. Third-party batteries can affect performance.
- Before flights, fully charge both the drone and the controller. Keeping your firmware up to date can also maximize battery life.
- Solutions:
- Poor Video Quality:
- Solutions:
- Double-check that you’re recording in the desired resolution and frame rate. Make adjustments in the camera settings if necessary.
- Cleaning the drone’s camera lens before each flight can significantly improve image clarity.
- Solutions:
Reflecting on my early drone adventures, I faced connectivity issues numerous times. But with each hiccup, I learned to troubleshoot like a pro. Now, I always start with a checklist, and it saves me a ton of frustration!
Contacting DJI Support
If you encounter a problem that you can’t resolve through standard troubleshooting, don’t hesitate to reach out to DJI Support. They offer comprehensive assistance for various issues, and their team can help get you back in the air quickly. How to Contact DJI Support:
- Online Support:
- Visit the official DJI support website. They have a wealth of resources, including FAQs and troubleshooting guides.
- You will also find a community forum where fellow users share their solutions and experiences.
- Submit a Ticket:
- If your issue is more specific, you can submit a support ticket. Be sure to include as much detail as possible, including hardware and software versions.
- Live Chat and Phone Support:
- Depending on your location, DJI offers live chat support during business hours, which can be especially helpful for immediate concerns.
- Additionally, you can reach their customer service via phone. This can be useful for urgent issues that need direct attention.
When I had to contact DJI support about a firmware update that didn’t go as planned, I was pleasantly surprised by how quickly they responded. Their team was knowledgeable and guided me through the process step-by-step, making the whole experience far less stressful than I had anticipated. Overall, encountering issues is just part of the learning experience when flying drones. With a little patience and the right resources, you’ll be back to capturing stunning aerial shots in no time! 🛠️👨✈️

Tips and Tricks for Mastering DJI Fly App
Advanced Techniques for Better Control
As you become more comfortable with the DJI Fly App, refining your flying skills can significantly elevate your drone photography and videography. Mastering some advanced techniques will not only enhance your control over the drone but also boost your creativity when capturing stunning visuals. Here are some tips I’ve found helpful on my journey:
- Practice in a Controlled Environment:
- Start flying in a spacious, open area away from people and obstacles. This will help you get accustomed to the flight controls without distractions or hazards.
- Drone simulators are also a fantastic way to practice maneuvers without risking your equipment!
- Use the Wheel for Gimbal Control:
- If your drone has a gimbal wheel, use it to smoothly adjust the camera angle while flying. This provides more cinematic shots and minimizes abrupt movements that can make footage look shaky.
- You can practice panning slowly during flight to capture sweeping landscapes or dramatic close-ups.
- Learn to Fly in Manual Mode:
- Exploring manual mode can enhance your understanding of drone dynamics. While it may seem daunting, it allows you to fine-tune the drone’s movements beyond what automatic modes can offer.
- Master the Return to Home (RTH) Feature:
- Use RTH during your practice flights. Familiarize yourself with how the drone behaves when returning autonomously. This can save you in emergencies and improve your confidence in knowing the drone will safely come home.
- Create Dynamic Shots with Waypoints:
- Plan out flight paths using the Waypoints feature in the DJI Fly App. By pre-setting points of interest, you can create engaging video sequences that would be challenging to capture manually.
When I began practicing these advanced techniques, I noticed a significant improvement in my footage quality. Each flight became more purposeful, and the results were striking. It felt like stepping into a new creative realm!
Maximizing Battery Life and Performance
Battery life is a crucial aspect of any flying experience, especially during lengthy shoots. Extending your drone’s battery life can mean the difference between capturing that perfect sunset or racing back to land. Here are my top tips for maximizing battery life and performance:
- Optimal Flying Conditions:
- Try to fly on calm days with minimal wind. High winds can drain battery life quickly as your drone works harder to maintain stability.
- Reduce Weight:
- Avoid carrying unnecessary attachments that may weigh down the drone. For example, if you’re not using a filter or light, take it off before flying.
- Use Intelligent Flight Modes Wisely:
- While intelligent flight modes like ActiveTrack can help you capture stunning footage, they may use more battery. Switch to manual control when you need to extend flight time.
- Keep the Firmware Updated:
- Regularly check for firmware updates for both the drone and the app. Manufacturers often release updates that optimize battery performance and improve overall stability.
- Manage Your Flight Plan:
- Plan your flights efficiently. Combine tasks to minimize how much you need to fly. If you have multiple locations to cover, plan a route that conserves your battery and reduces unnecessary hovering.
- Store Batteries Properly:
- Always store your batteries at the recommended charge levels (usually around 40–60%). Proper storage helps maintain battery health for longer use.
Implementing these strategies into your routine has significantly improved my flying regime. I remember one trip where applying these principles allowed me to extend my flying time and capture breathtaking sunrises without rushing back to land! By mastering advanced flying techniques and optimizing battery performance, you’ll be well on your way to becoming a skilled drone pilot. Embrace the journey, learn from every flight, and enjoy creating stunning visuals! 🚀🔋🌤️