Introduction to DJI Phantom Drones
When it comes to drones, DJI’s Phantom series stands out as a pioneer in the aerial imagery space. Since their introduction, these drones have transformed how both hobbyists and professionals capture stunning visuals from above. Let’s explore the history of the DJI Phantom series and what makes these drones so special.
History of DJI Phantom Series
The journey of the DJI Phantom series began in 2013, with the launch of the original Phantom 1. This model was a game-changer, combining ease of use with high-quality camera capabilities. Since then, DJI has released several iterations, each building on the strengths of its predecessors.
- Phantom 2 (2014): Introduced battery improvements and waypoint navigation, allowing for more controlled flights.
- Phantom 3 (2015): Launched with built-in 4K cameras, making high-resolution aerial photography accessible to everyone.
- Phantom 4 (2016): Elevated the game with obstacle avoidance technology, ensuring safer flights for users.
- Phantom 4 Pro (2016): Took things further with a powerful camera and advanced flight features, catering to professional photographers and videographers.
Each new model has pushed the boundaries of what drones can do, focusing on usability and technological advancements. Owning a Phantom drone often feels like being part of an evolving story where every flight is an opportunity to capture new and breathtaking perspectives.
Key Features of DJI Phantom Drones
What sets DJI Phantom drones apart? Here’s a rundown of some of their standout features:
- User-Friendly Interface: Phantom drones come equipped with the DJI GO app, which simplifies the flying experience. You don’t need to be an expert to start capturing stunning footage.
- Gimbal Stabilization: Most models feature 3-axis gimbal stabilization, ensuring smooth and steady video, even in windy conditions. This is crucial for creating professional-grade content.
- Intelligent Flight Modes: From Follow Me to Waypoint Navigation, these modes allow you to focus on what matters—capturing beautiful shots while your drone handles the complexity of flying.
- High-Quality Cameras: Equipped with cameras that can shoot in 4K, you can achieve professional-grade results whether you’re a hobbyist or a pro.
- GPS and Live First-Person View (FPV): With GPS enabled, you have added security with features like Return to Home. The FPV option gives you a live view of what the drone sees, enhancing your flying experience.
From a personal perspective, flying a DJI Phantom drone is truly exhilarating. There’s a unique thrill that comes with gaining a new height advantage on your photography or videography. It’s not just about flying; it’s about capturing moments that you’d never see from the ground. In summary, the DJI Phantom series combines heritage, innovation, and user-friendliness to create drones that empower creatives to see the world from a different angle. Whether you’re diving into drone photography for the first time or are a seasoned pro, there’s a Phantom drone tailored for your needs. 🌟

Understanding the Different Models of DJI Phantom Drones
Having established a solid foundation about DJI Phantom drones, it’s time to delve into the specific models. Each iteration offers unique features and capabilities, catering to different types of users. Let’s take a closer look at two notable models: the DJI Phantom 4 Pro and the DJI Phantom 3 Standard.
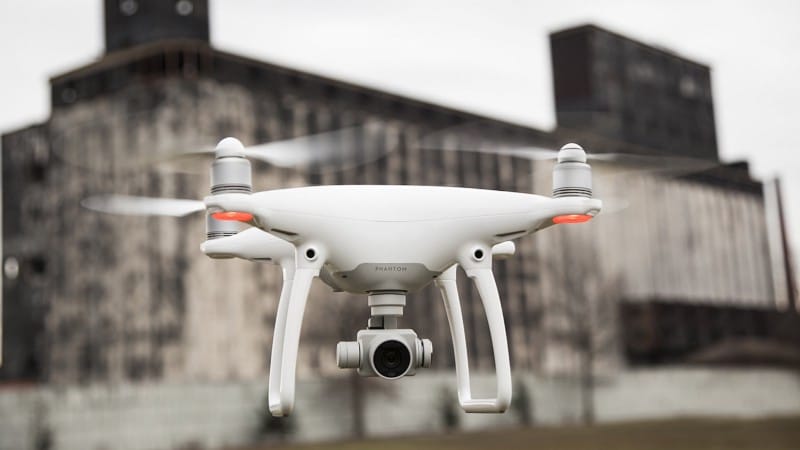
DJI Phantom 4 Pro
The DJI Phantom 4 Pro is a powerhouse designed for enthusiasts and professionals alike. When I first upgraded to the Phantom 4 Pro, it felt like I was flying a different class of drone. Here’s what makes it stand out:
- Superior Camera Quality: The Phantom 4 Pro boasts a 20MP 1-inch sensor camera capable of shooting 4K video at 60 frames per second. The larger sensor delivers better low-light performance, which was a game-changer for many of my sunset shots.
- Five-directional Obstacle Sensing: This feature allows the drone to avoid obstacles in real-time, providing peace of mind during flights. I remember flying in a dense forest and being amazed at how it maneuvered seamlessly around trees.
- Advanced Flight Modes: With features like ActiveTrack and TapFly, the Phantom 4 Pro allows for advanced shooting techniques. I often use ActiveTrack to capture my adventurous friends mountain biking; the drone effortlessly follows them, providing stunning footage.
- Longer Flight Time: With up to 30 minutes of flight time, you can capture more without continuously checking battery levels. This longer duration helped me capture an entire event, without needing multiple battery swaps.
In essence, the Phantom 4 Pro is for serious filmmakers or photographers looking for top-tier quality and features.
DJI Phantom 3 Standard
On the other end of the spectrum is the DJI Phantom 3 Standard, which is perfect for those new to drone flying. The experience I had with this model was fulfilling for my early days of aerial photography.
- Affordable Option: The Phantom 3 Standard offers a great entry point into the world of drone flying without breaking the bank, making it accessible for beginners.
- User-Friendly Features: With a straightforward setup and an easy-to-navigate app, it’s perfect for anyone just dipping their toes into the aerial photography waters. I vividly recall how simple it was to take off and start capturing my backyard with this drone.
- 1080p HD Camera: While it may not have the high-resolution capabilities of newer models, the 1080p HD camera still delivers decent footage and crisp images suitable for casual flyers.
- GPS-enabled Flight: Thanks to GPS, it covers the basic safety features like Return to Home. I often felt reassured knowing it would come back if I lost connection.
In summary, the Phantom 3 Standard serves as a reliable companion for newcomers eager to explore aerial photography, while the Phantom 4 Pro caters to those looking for advanced features and professional-level results. Each has its strengths and appeals to different users, making the Phantom series diverse and inclusive.

Setting Up Your DJI Phantom Drone
Now that you’ve explored the various models of DJI Phantom drones, the next exciting step is getting your drone ready for its first flight. A well-set-up drone ensures a smooth and enjoyable flying experience. Let’s discuss how to charge the batteries and install the propellers, two fundamental tasks you can’t overlook.
Charging the Batteries
Charging your drone’s batteries properly is crucial for maximizing flight time and ensuring safety. Here’s how you can do it efficiently:
- Use the Original Charger: Always use the charger that comes with your Phantom drone. The correct voltage and current flow help preserve battery life and prevent potential damage.
- Connect the Battery: Plug the charger into a power source, then connect your battery. You should see LED indicators that light up, showing the charging status. Ideally, the lights should turn from red to green, indicating a full charge.
- Charging Times: The charging time may vary, but typically, it takes about 1-2 hours to fully charge a battery. I recommend charging your batteries a few hours before planned flights to avoid last-minute scrambles.
- Battery Maintenance Tips:
- Do not let the batteries completely drain before recharging; it can shorten their lifespan.
- Store batteries at around 50% charge if you’re not using them for an extended period. This keeps them healthy and ready for your next adventure.
A little personal insight: I always ensure I have at least two fully charged batteries before heading out. There’s nothing worse than finding a perfect shot and realizing you’re out of juice!
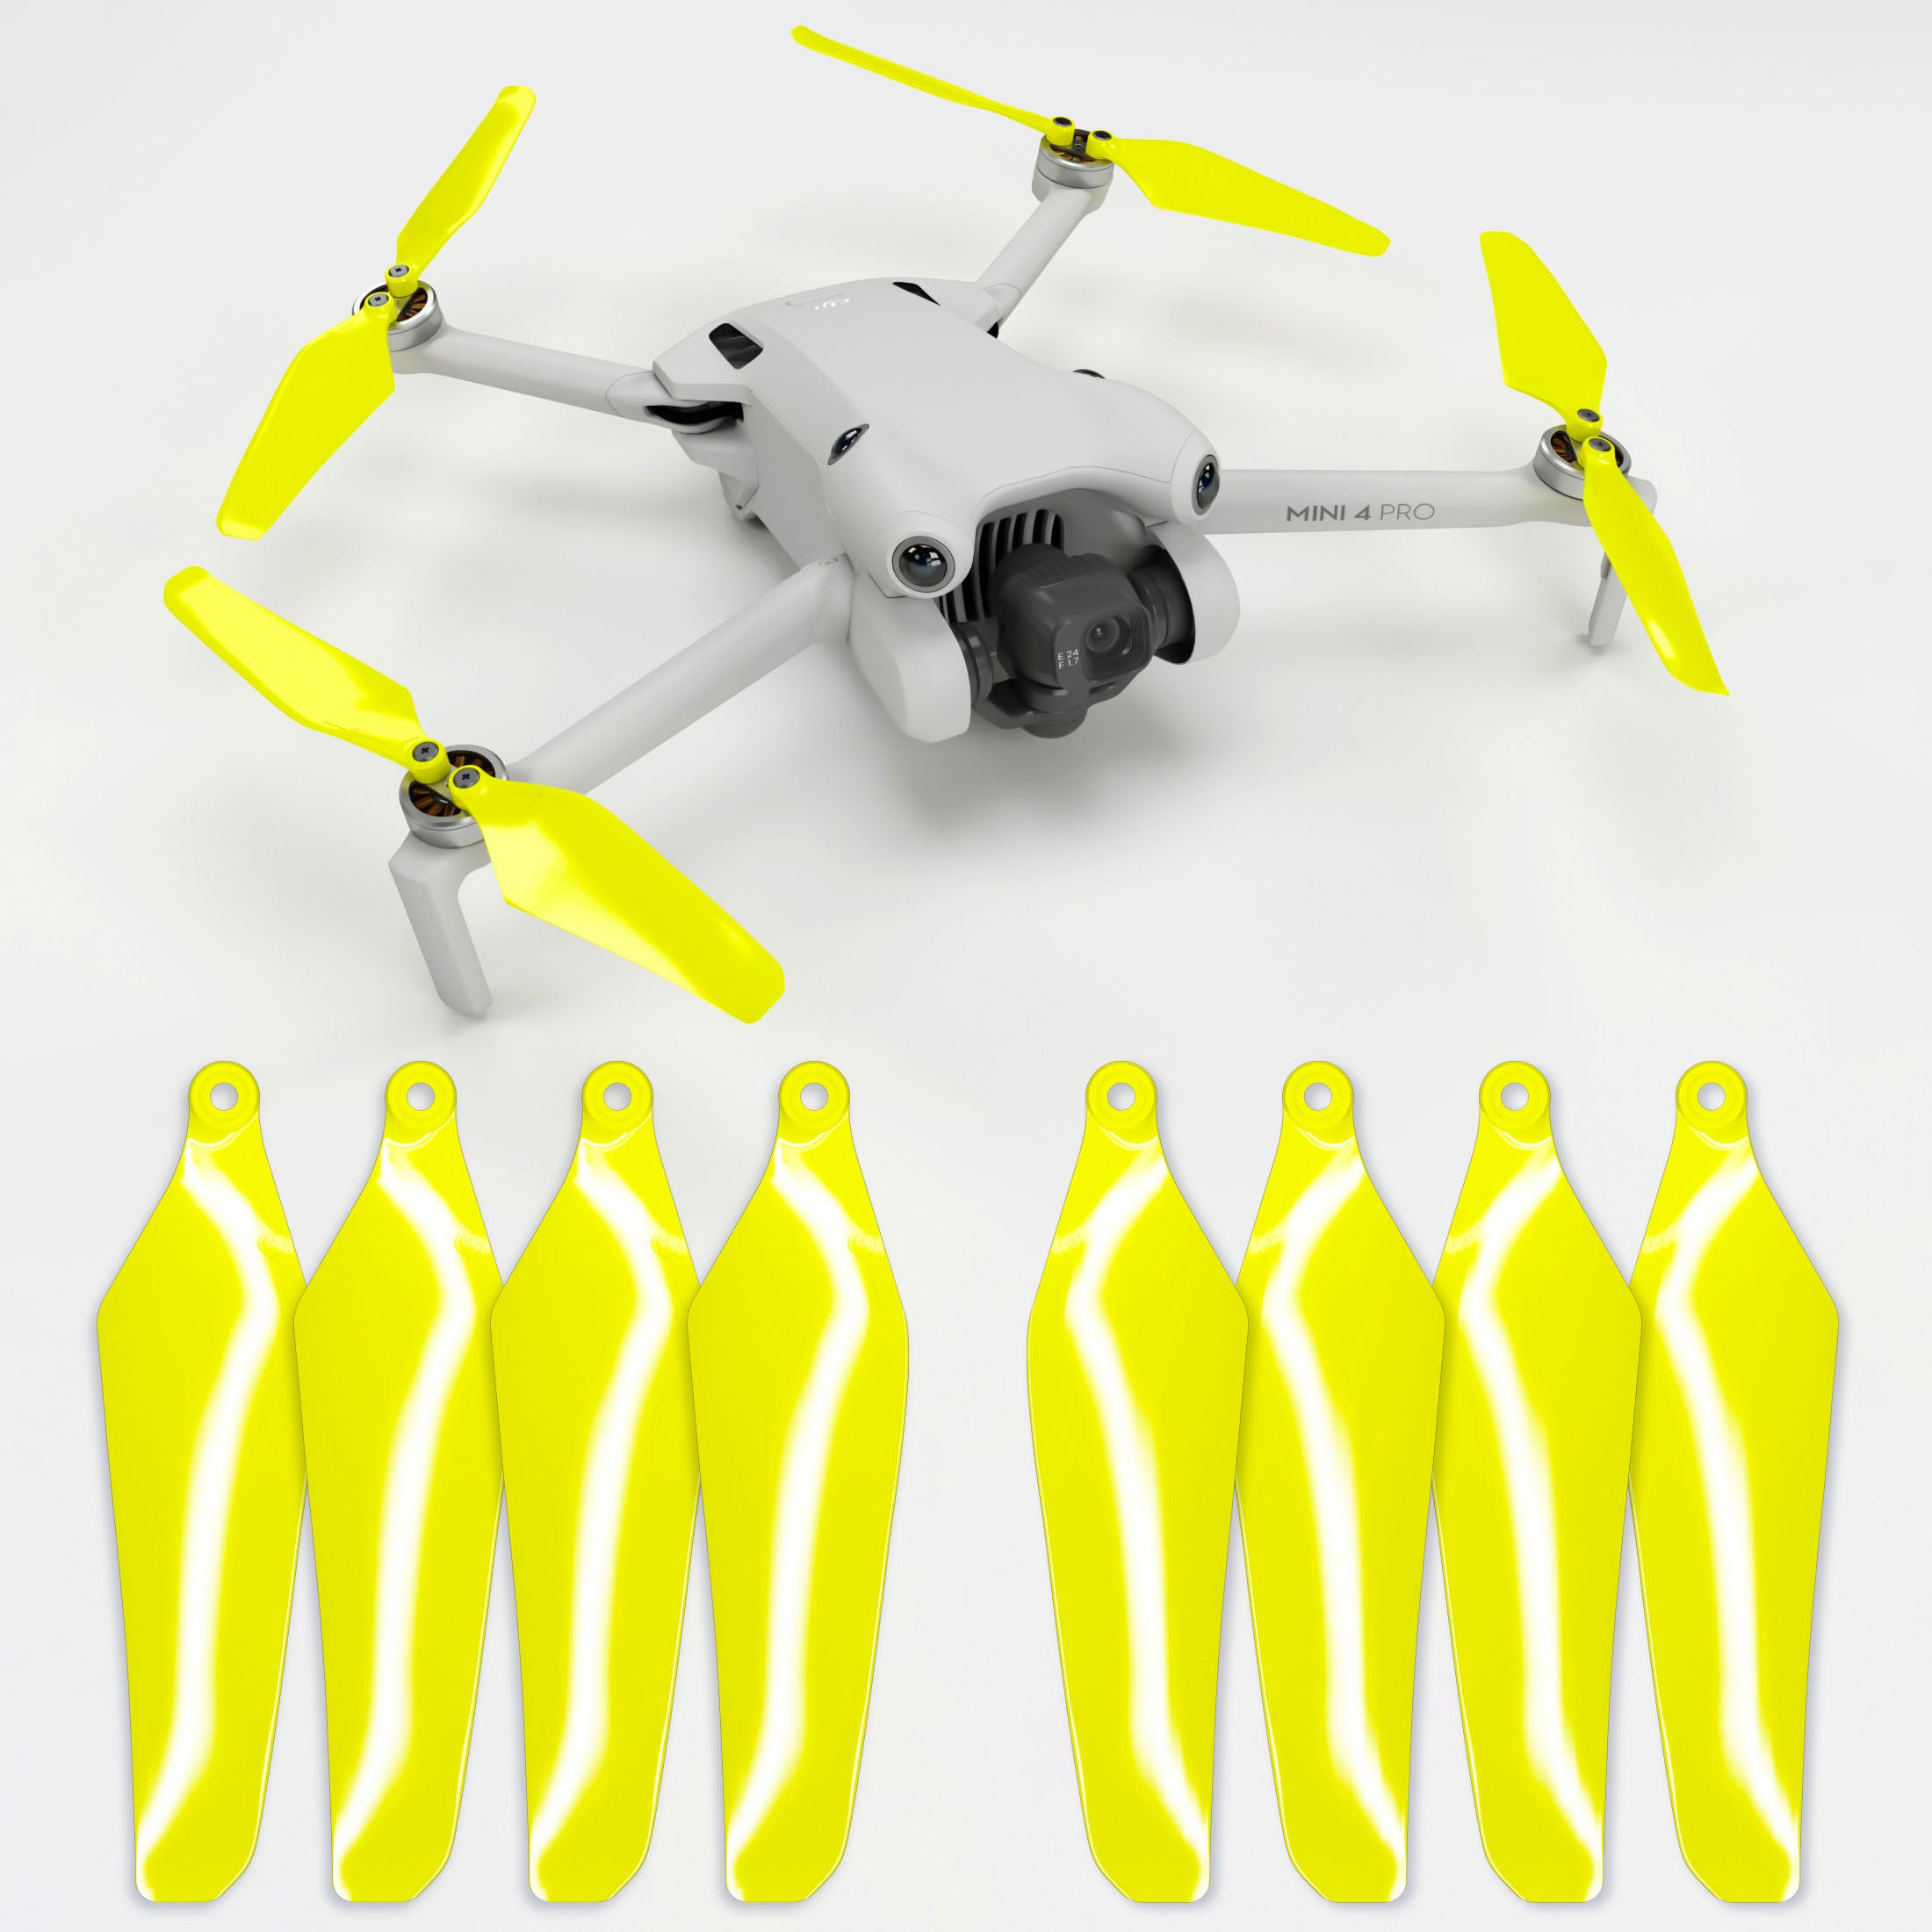
Installing the Propellers
Installing propellers is another essential part of drone setup that’s super straightforward but crucial for safe operations. Here’s a step-by-step guide:
- Identify the Propellers: The Phantom drones typically come with a set of propellers marked for clockwise (CW) and counter-clockwise (CCW) rotations. Make sure you distinguish between them before installation.
- Align the Propellers:
- Each propeller has a marked area to indicate its rotation direction.
- For clockwise propellers, they usually have a small dot, while counter-clockwise ones will not.
- Secure the Propellers:
- Position the propellers over the motor mounts and push down softly.
- Turn them clockwise to lock them in place for CW propellers, and counter-clockwise for CCW propellers.
- Double-Check: It’s essential to double-check that each propeller is securely attached. A loose propeller can lead to undesirable flight behavior.
When I first got my Phantom drone, I was surprised at how easy it was to install the propellers. It’s always good to have a friend help you—they can take a quick look and reassure you that everything is set up correctly before flying. In conclusion, charging your batteries effectively and securely installing your propellers is the foundation of a successful flight. Each little detail matters when it comes to your drone setup, setting the stage for a fantastic flying experience. Enjoy the excitement of your new aerial adventures ahead! ✈️

Mastering the Remote Controller
With your DJI Phantom drone set up and ready to go, it’s time to dive into the heart of your flying experience: the remote controller. This is where all the magic happens! Understanding the basic controls and advanced settings can elevate your piloting skills and ensure you capture stunning footage. Let’s break it down!
Basic Controls and Functions
Getting acquainted with the basic controls of the remote controller is essential for any new pilot. Here’s a quick overview:
- Control Sticks:
- The left stick generally controls altitude and rotation. Pushing it up makes the drone ascend, while pulling it down makes it descend.
- The right stick controls lateral movements: left and right to strafe (move sideways), and forward and backward to fly in those directions.
- Camera Control Wheel: This wheel allows you to tilt the camera up and down while flying. It’s ideal for creating dynamic shots, especially if you want to capture a breathtaking landscape.
- Return to Home (RTH) Button: A lifesaver when you lose eyesight of your drone! Pressing this button will send your drone back to its take-off point, ensuring safety.
- Flight Mode Switch: This switch typically allows you to toggle between different flight modes, such as GPS and ATTI mode. GPS mode enables stable, assisted flying, whereas ATTI mode gives you more manual control over the drone.
I remember the first time I flew my Phantom drone; I kept my head buried in the controller trying to figure it all out. It helped to read the manual while keeping the drone nearby for practice. Trust me, practice is key!
Advanced Settings and Customizations
Once you’re comfortable with the basics, it’s time to explore the advanced settings that can enhance your flying experience further:
- Custom Stick Mapping: Did you know you can customize how your sticks operate? If you prefer different controls, you can adjust the settings via the app. This is a fantastic feature if you’re transitioning from another brand of drone.
- Camera Settings Adjustments: Within the remote controller, you can access camera settings such as ISO, shutter speed, and video quality. Tailoring these settings based on your environment will significantly improve the quality of your footage.
- Flight Speed Settings: You can adjust the sensitivity and speed of your drone. For instance, if you’re a beginner, you might want to set it to “slow” to have better control. This feature helped me refine my piloting skills, slowly transitioning to faster speeds as I became more confident.
- Geofencing and Altitude Limits: This safety feature allows you to set boundaries on how high or far your drone can fly. I’ve had instances where my Phantom accidentally flew towards restricted areas, and having these limits saved me from potential headaches.
In summary, mastering the remote controller opens the door to a world of creative possibilities. From mastering the basic controls to unlocking advanced settings, your ability to maneuver and shoot with your drone will greatly enhance your aerial photography and videography skills. The more familiar you become with your controller, the more confident you’ll be in capturing those epic shots! Happy flying! 🚀

Pre-Flight Checklist for DJI Phantom Drones
Before you take to the skies with your DJI Phantom drone, performing a thorough pre-flight checklist is paramount for a safe and successful flight. Ensuring everything is in order will not only enhance your flying experience but also protect your investment. Let’s explore two crucial pre-flight checks: checking the GPS signal and calibrating the compass.
Checking GPS Signal
A strong GPS signal is essential for stable flight and the execution of various intelligent flight modes. Here’s how to ensure your GPS is in top condition before takeoff:
- Power on Your Drone: Start by powering on your Phantom and the remote controller. As a rule of thumb, I always do this in an open area away from tall buildings or trees to avoid signal interference.
- Check GPS Indicator: On your remote controller, keep an eye on the GPS indicator (usually displayed on the screen). A good signal is typically indicated by multiple green bars.
- Optimal Reception: Aim for a minimum of 6-8 GPS satellites for safer and more stable flying. I once miscalculated my time and flew with only a few satellites; it led to extreme instability, and it wasn’t a fun flight!
- Wait for Lock: Make it a habit to wait until the GPS signal locks in before taking off. This can save you from potential issues during flight, as good GPS reception assists with features like Return to Home.
- Avoid Urban Areas: If you’re in a crowded or complex environment, GPS signals can get disrupted. It’s best to seek an open area for your first few flights.
You may find this routine tedious at first, but over time it will become second nature, significantly improving your flying experience.
Calibrating the Compass
Compass calibration is another critical step before flying. An uncalibrated compass can lead to erratic behavior and even cause your drone to fly away. Here’s how to do it effectively:
- Follow the Instructions: Open the DJI GO app, which provides prompts to calibrate the compass. Follow the on-screen instructions carefully.
- Perform the Calibration: There are generally two steps involved:
- Horizontal Calibration: Hold your drone flat in front of you and rotate it 360 degrees horizontally at a steady pace.
- Vertical Calibration: Once prompted, tilt the drone upwards to point its nose towards the sky and rotate it 360 degrees again.
- Confirm Calibration: After calibration, a successful prompt will indicate that your compass is calibrated and ready to go. Always take a moment to confirm this before every flight.
I remember my first drone flight without calibrating the compass. Despite having GPS, the drone acted unpredictably, leading me on a wild unexpected ride. From that day on, it’s part of my routine. In summary, checking the GPS signal and calibrating the compass are essential steps in your pre-flight checklist that can significantly impact your overall flying experience. By developing these habits, you’re not only ensuring a smooth flight but also cultivating a greater sense of confidence as a pilot. Now that you’re equipped with this knowledge, it’s time to get out there and capture some amazing aerial shots! ✈️📸
Capturing Stunning Aerial Footage with Your DJI Phantom
Now that you’re well-prepared for flying your DJI Phantom drone, it’s time to move on to one of the most exciting aspects: capturing breathtaking aerial footage. With the right camera settings and some creative techniques, you can transform ordinary shots into extraordinary cinematic visuals. Let’s dive in!
Camera Settings and Modes
Mastering the camera settings of your Phantom drone is crucial for elevating the quality of your footage. Here’s a guide to optimizing your settings:
- Resolution and Frame Rate:
- For stunning visuals, set your camera to record in 4K resolution. This allows for incredible detail, especially when viewed on larger screens.
- Choose a frame rate of 30 fps for general usage or 60 fps if you’re planning to create slow-motion effects later.
- ISO Settings:
- Keep your ISO as low as possible (ideally between 100-400) to minimize noise, especially in bright conditions. Higher ISOs can introduce unwanted grain into your footage.
- Shutter Speed:
- A good rule of thumb is to set your shutter speed to double the frame rate. For example, if you’re shooting at 30 fps, aim for a shutter speed of 1/60 sec. This helps achieve that natural motion blur in your videos, making them feel more cinematic.
- White Balance:
- Adjust the white balance according to the conditions. Using a manual white balance (like 5500K for sunny days) can preserve your colors. Play around with these settings, so you’ll find what works best for different environments.
I remember when I first started flying my drone; I would set everything to auto and often ended up with washed-out colors. Taking the time to learn manual settings made a world of difference!
Tips for Cinematic Shots
Now that your camera settings are on point, let’s talk about some tips to capture truly cinematic aerial shots:
- Utilize Different Flight Modes:
- Experiment with flight modes such as ActiveTrack or Waypoint Navigation. These modes allow you to create smooth, dynamic movements without needing to focus solely on piloting the drone.
- Incorporate Movement:
- Don’t just shoot static shots. Incorporate elevation changes or gentle movements as you film. Slowly ascending or descending will create a more engaging viewing experience.
- Golden Hour Magic:
- Plan your flights during the golden hour—shortly after sunrise or before sunset. The warm, soft light during these times can enhance the beauty of your shots, creating breathtaking imagery that pops.
- Composition Matters:
- Follow the rule of thirds by placing your subject off-center to create depth and interest in your compositions. I always visualize a grid in my head and try to position my main subject along those lines.
- Experiment with Angles:
- Don’t be afraid to capture from different angles. High altitude shots can capture grand landscapes, while lower angles add a dramatic effect to the subject.
By combining the right camera settings with creative filming techniques, you can harness the full potential of your DJI Phantom drone. The sky is truly the limit when it comes to capturing stunning aerial footage! So, grab your remote, head outdoors, and let your creativity soar. 🕊️✨
Maximizing Flight Performance and Safety
As you embark on your aerial adventures with your DJI Phantom drone, understanding how to maximize flight performance while ensuring safety is crucial. The right knowledge can enhance your flying experience and protect your investment. Let’s take a look at flight modes and common mistakes to avoid during your flights.
Understanding Flight Modes
DJI Phantom drones come equipped with various flight modes, each tailored for different flying experiences. Familiarizing yourself with these modes will allow you to choose the best one for your needs. Here are the key flight modes you should know:
- GPS Mode:
- This is the default mode for stability and safety, utilizing GPS signals for precise positioning. It’s ideal for beginners or when flying in crowded areas. I started with this mode; it gave me the confidence to focus more on my shots than on flying the drone.
- ATTI Mode:
- Unlike GPS mode, ATTI (Attitude) mode relies on the drone’s internal sensors, providing more manual control. This mode is excellent for experienced pilots looking to perform maneuvers or capture creative shots but requires more skills as it can drift in windy conditions.
- Course Lock:
- This mode allows you to lock the camera’s focus on a specific direction, regardless of the drone’s position. It’s incredibly handy for capturing repeated shots while flying in a straight line.
- Home Lock:
- This function makes it easy to bring the drone back to you. The controls will adjust relative to your position, making navigation a breeze.
- Tripod Mode:
- Perfect for ultra-steady shots, this mode limits the drone’s speed and minimizes movement, making it easier to capture fine details.
Knowing when to switch between these modes can drastically affect your footage and flying comfort.
Avoiding Common Mistakes
Even experienced drone pilots can fall into traps that lead to mishaps. Learning to recognize and avoid common mistakes is essential for safe flying:
- Neglecting Battery Levels:
- Always keep an eye on your battery levels during flight. It’s easy to get caught up in filming, but I’ve learned the hard way that you should proactively monitor your remaining flight time to prevent sudden landings.
- Ignoring Firmware Updates:
- Ensure your drone’s firmware is up to date. DJI regularly releases updates to improve functionality and safety. Whenever I get ready for an outing, I check for updates to avoid unexpected glitches.
- Flying in Restricted Areas:
- Always check local regulations and avoid flying in restricted airspaces, such as near airports. This isn’t just about safety; it’s about understanding and respecting the rules that govern drone flying.
- Not Pre-Flight Inspecting:
- Conduct a thorough pre-flight inspection. Double-check your propellers, camera, and overall drone state. I keep a checklist handy that I review before every flight, ensuring that every component is in working order.
- Overconfidence:
- Finally, don’t overestimate your skills. It’s tempting to push the boundaries, especially when feeling good about your piloting. Always fly within your comfort zone and don’t hesitate to practice more in GPS mode to build your confidence.
By understanding flight modes and steering clear of common mistakes, you lay the groundwork for a safe and enjoyable flying experience. Embracing these practices will not only enhance your performance but will also ensure you’re making the most out of your DJI Phantom adventures. Enjoy your flights, and always stay safe up there! 🌤️🚁

Post-Production Tips for DJI Phantom Footage
After capturing breathtaking aerial footage with your DJI Phantom drone, the next exciting step is post-production. Editing your footage not only highlights the moments you’ve captured but also allows you to enhance your visual storytelling. Let’s explore some recommended editing software and techniques for color correction and stabilization.
Editing Software Recommendations
Choosing the right editing software can significantly affect the quality of your final product. Here are some popular options, ranging from beginner-friendly to professional-grade:
- iMovie:
- If you’re a Mac user, iMovie is a fantastic starting point. It’s user-friendly with drag-and-drop functionality, perfect for those new to video editing. I used it for my first projects, and it helped me get familiar with basic editing features.
- Adobe Premiere Pro:
- For those seeking a more robust editing solution, Adobe Premiere Pro is a go-to choice for many professionals. Its extensive toolset allows for advanced editing techniques. You can create multi-cam sequences and add various effects. A bit of a learning curve, but well worth it!
- Final Cut Pro:
- Another excellent option for Mac users, Final Cut Pro offers powerful editing capabilities with an intuitive interface. After switching from iMovie, I found it to be a game-changer, especially with its speed and performance.
- DaVinci Resolve:
- If you’re looking for a free yet powerful option, DaVinci Resolve is a top contender. With excellent color correction tools built right into the software and professional-grade capabilities, it’s perfect for those on a budget.
To wrap up software selection, consider your editing needs and experience level. Starting with a simpler application can build your confidence before diving into more advanced tools.
Color Correction and Stabilization Techniques
Once you’ve imported your footage to the software, color correction and stabilization are essential steps to elevate your visuals. Here’s how to nail both:
- Color Correction:
- Adjust White Balance: Start by correcting the white balance; ensure your colors appear true to life. Tools like color wheels or sliders make this adjustment easy.
- Curves and Levels: Utilize curve adjustments to modify highlights, shadows, and mid-tones effectively. This technique allows you to create a more balanced exposure.
- Saturation: Be careful not to overdo saturation; instead, enhance colors for vibrancy while maintaining a natural look. I found that a 10-15% bump works wonders without looking artificial.
- Stabilization:
- In-Software Stabilization: Many editing platforms, like Adobe Premiere Pro, offer built-in stabilization tools. Simply highlight your clip to apply stabilization and smooth out any jitters. I vividly recall how much smoother my shots appeared after applying this effect—truly transforming my footage!
- Manual Keyframing: For advanced users, you can also stabilize footage manually by keyframing your clips to create a smooth cinematic look. It can be time-consuming but well worth the effort for premier-quality results.
By leveraging the right editing software and applying effective color correction and stabilization techniques, you’re well on your way to producing stunning aerial videos that showcase the beauty of your surroundings captured through your DJI Phantom drone. Embrace the editing process—it’s where your footage comes alive! 📽️✨

Exploring Advanced Features of DJI Phantom Drones
As you become more comfortable flying your DJI Phantom drone, it’s time to unlock some of the advanced features that can elevate your filmmaking and flying experience. Two standout functionalities are Follow Me Mode and Waypoint Navigation. Let’s dive into how each feature works and how you can make the most of them.
Follow Me Mode
Follow Me Mode is an incredibly useful feature that allows your drone to automatically track and follow you while capturing stunning footage. This functionality opens up exciting possibilities for content creators and adventurers alike. Here’s how it works:
- How to Activate:
- First, ensure that your drone has GPS locked in and is in a clear space. Open the DJI GO app, select the Follow Me option, and then tap on your mobile device to create a tracking point.
- The drone will then automatically adjust its position to keep you in the frame no matter where you go.
- Best Use Cases:
- This feature is perfect for filming outdoor activities, such as hiking, biking, surfing, or even running. I often use it during family outings; it beautifully captures moments without needing to be behind the camera all the time. Imagine running through a beautiful landscape with the drone gliding effortlessly behind me!
- Tips for Optimizing:
- Stay moving—keep your activity dynamic! If you stop for an extended period, the drone may have difficulty maintaining its position.
- Reducing your speed can help the drone to keep you perfectly framed, allowing for smoother shots.
Using Follow Me Mode offers an exhilarating way to create personalized and engaging content, making your videos come alive.
Waypoint Navigation
Waypoint Navigation is another powerful feature that allows you to pre-program specific flight paths for your DJI Phantom. This feature is fantastic for capturing consistent, high-quality shots across multiple takes. Here’s what you need to know:
- Setting Waypoints:
- Within the DJI GO app, you can set various waypoints on the map by simply tapping where you want the drone to travel. You can adjust the altitude and speed for each waypoint, giving you full control over your flight path.
- I love using this feature for capturing sprawling landscapes. Setting waypoints allows my drone to fly over different spots while I focus on my composition without worrying about piloting.
- Creating Cinematic Shots:
- By planning your route carefully, you can achieve smooth transitions and movements between shots. This is particularly useful when creating time-lapses or establishing shots for video projects.
- Consider using varying altitudes for an engaging flying experience; it can add a layer of depth to your content.
- Review and Plan:
- Make sure to review your planned route before taking off, especially considering any obstacles in your flying area. I always double-check my waypoints to ensure a smooth journey.
By utilizing Follow Me Mode and Waypoint Navigation, you can unlock new creative avenues and enhance your aerial videography. These advanced features provide you with the tools to capture stunning visuals effortlessly, all while allowing you to enjoy the thrill of flying. Get out there and experiment with these capabilities; the sky truly is the limit! 🚀✨

Troubleshooting Common Issues with DJI Phantom Drones
As with any technology, DJI Phantom drones can encounter issues from time to time. Understanding these challenges not only helps you troubleshoot them effectively but also keeps your drone in top flying condition. Let’s explore how to interpret error codes and some essential maintenance tips to keep your drone performing at its best.
Understanding Error Codes
One of the most effective ways to troubleshoot your DJI Phantom drone is by understanding the error codes the app or remote controller displays. Here’s a brief rundown of some common error codes you might encounter:
- Error Code 30055:
- This typically indicates a battery problem. It might mean that the battery voltage is low or that it isn’t functioning correctly. Always check battery levels before your flight and ensure your battery is calibrated.
- Error Code 40000:
- This code often suggests a GPS signal issue. You may need to recalibrate your compass or find an open area to gain adequate satellite signals. I learned this the hard way; once, I tried to fly in a crowded park and faced erratic behavior due to poor GPS reception.
- Error Code 100:
- This error often indicates a firmware mismatch. To resolve this, update the firmware on your drone via the DJI GO app. Regular updates are crucial, as they often contain vital fixes and enhancements.
- Error Code 10:
- This indicates that the compass calibration is needed. Make sure to follow the calibration process correctly, as it can dramatically affect your drone’s performance and stability in flight.
Always remember to consult the DJI manual or their support website for a complete list of error codes. Keeping a small notebook of experiences can be immensely helpful for future reference.
Maintenance Tips and Tricks
Preventive maintenance is key to keeping your DJI Phantom drone running smoothly and effectively. Here are some tips you should consider:
- Regularly Clean Components:
- After every flight, I make sure to clean the camera and propellers to remove any dust or debris. A quick wipe can prevent dirt from affecting your footage quality and drone performance.
- Check Propellers:
- Always inspect your propellers before flying. Look for any cracks or chips as they can lead to an imbalanced flight and potential crashes. Investing in a spare set has been a lifesaver during my outings.
- Battery Care:
- Maintain your drone batteries by storing them at around 50% charge if not used for long periods. It’s vital because both under-charging and overcharging can drastically reduce battery life.
- Firmware Updates:
- As mentioned earlier, regularly check and update your firmware. It ensures that your drone is operating with the latest features and fixes, allowing you to harness its full potential.
- Store Properly:
- When not in use, store your drone in a padded case to avoid physical damage. A little extra protection during transport goes a long way.
By understanding the error codes and implementing some key maintenance tips, you can troubleshoot and prevent many common issues with your DJI Phantom drone. Keeping your drone in top shape not only prolongs its life but also enhances your overall flying experience. Now that you’re equipped with these insights, take to the skies confidently knowing you can handle whatever comes your way! 🛩️✨