Introduction
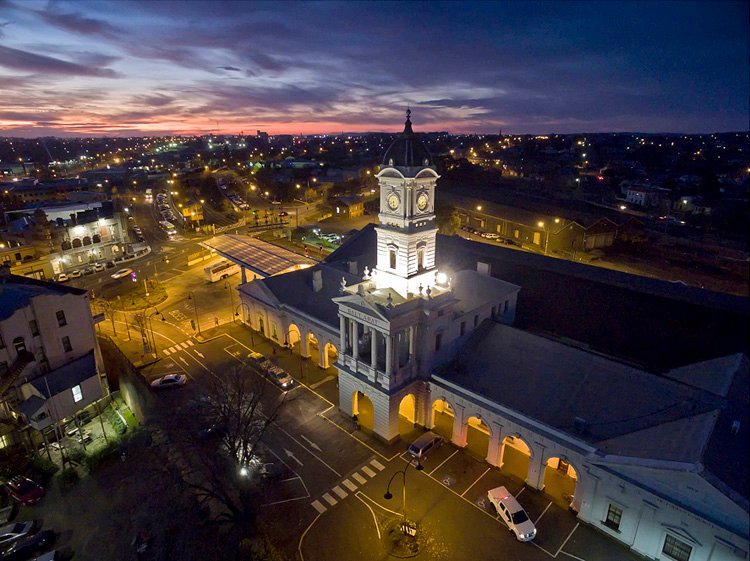
Aerial photography has transformed the way we capture and share our world. With the rise of drones, the possibilities for breathtaking, unique perspectives on our surroundings have expanded exponentially. Whether you’re an aspiring photographer or a hobbyist looking to add a new dimension to your outdoor adventures, diving into drone photography can lead to fantastic results.
The Thrill of Aerial Perspectives
Imagine soaring high above a landscape, with mountains stretching for miles and rivers weaving through valleys like ribbons. That’s the magic of drone photography! You gain access to angles that simply aren’t possible with traditional photography. I’ve experienced the thrill of flying my drone over stunning coastal cliffs, capturing vibrant sunset shots that evoke completely different feelings compared to ground-level photos. Here are some reasons why aerial photography is exciting:
- Unique Perspectives: Capture landscapes in ways others can’t.
- Fun and Engaging: Flying a drone is just as enjoyable as photographing with it.
- Endless Creativity: Discover new angles for the same subjects you’ve shot from the ground.
Getting Started with the Right Gear
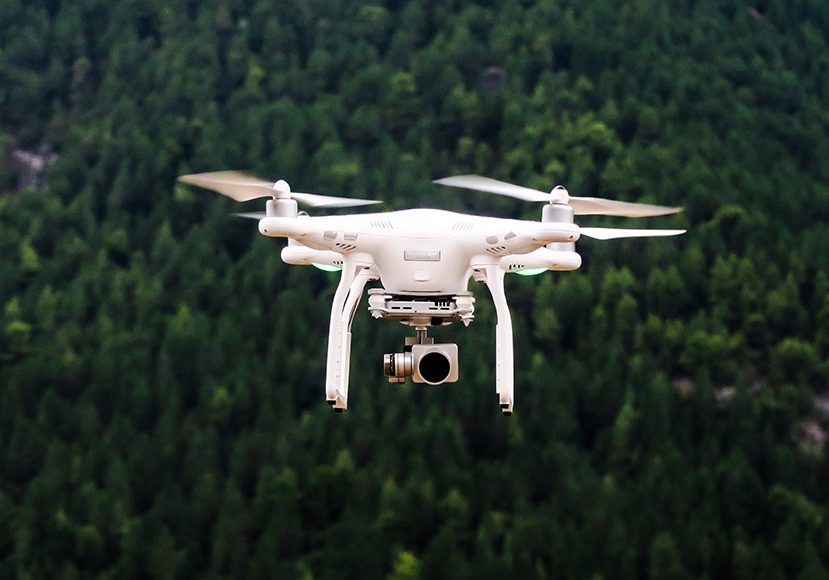
Before you embark on your aerial photography journey, it’s essential to equip yourself with the right drone and accessories. Not all drones are created equally! For instance, some are perfect for beginners, while others are tailored for professional photographers. Here are a few key factors to consider when choosing your drone:
- Camera Quality: Look for drones with high-resolution cameras (4K is a great start).
- Flight Time: Seek models with at least 20-30 minutes of flight time on a full charge.
- User-Friendly: If you’re new, prioritize models that are easy to operate and have built-in stabilization.
I remember the first drone I purchased—it was a beginner’s model. The joy of capturing my first aerial shots—and yes, a few shaky takes—made every practice flight worthwhile!
Emphasizing Safety and Regulations
It’s crucial to understand drone laws and safety tips before taking to the skies. Familiarize yourself with local regulations, as they vary significantly by region. Always keep your drone in sight and avoid no-fly zones, ensuring that your experience remains enjoyable and responsible. To wrap it up, diving into drone photography opens up a world of creative possibilities. With the right gear, knowledge, and respect for regulations, you’re well on your way to capturing stunning aerial images that will wow your audience. So let’s gear up and get ready for an adventure high above the ground!

Understanding Drone Photography
Once you’ve dived into the world of drone photography and acquired the necessary gear, it’s time to deepen your understanding of how to capture stunning aerial shots. The two critical components to mastering drone photography are choosing the right drone and mastering your flight controls.
Choosing the Right Drone
Selecting the appropriate drone for your needs can feel overwhelming, especially with so many options available on the market. However, a few key factors can significantly simplify your choice:
- Camera Quality: A high-quality camera is essential for capturing crisp images. Look for drones with at least a 4K camera to ensure your photos have excellent resolution and detail.
- Ease of Use: If you’re just starting out, opt for a user-friendly model with intuitive controls. Drones equipped with GPS assistance and auto-takeoff features make the learning process a lot smoother.
- Flight Range and Battery Life: Consider how far you’d like to fly your drone and for how long. Drones with a flight time of 20-30 minutes and a range of at least 1 mile are ideal for most aerial photography sessions.
When I first started, I chose a mid-range model that was easy to handle but had decent specs. After a few practice runs, I felt comfortable experimenting with different angles and settings. My advice? Don’t rush the decision; choose what feels right for your skill level and photography goals.
Mastering Drone Flight Controls
Once you’ve selected your drone, the next step is to familiarize yourself with flight controls. Drone piloting is a unique blend of technical skill and artistry, and mastering it can greatly enhance your photography. Here are some essential flight controls to focus on:
- Throttle Control: This control adjusts your altitude. Smooth and gradual changes in throttle ensure stable flight and prevent sudden descents or climbs.
- Yaw, Pitch, and Roll: Getting a grip on yaw (rotation around the vertical axis), pitch (tilt forward or backward), and roll (tilt side-to-side) will allow you to maneuver the drone effectively. Practice makes perfect!
- Stabilization Features: Utilize built-in stabilization technology (like GPS and optical flow sensors) that helps keep the drone steady, especially in windy conditions.
A helpful tip I learned is to spend time practicing in open areas without obstacles. This freedom lets you experiment without the fear of crashing into trees or buildings. Gradually progress to more challenging environments as your confidence increases. Ultimately, understanding your drone’s controls empowers you to express your creative vision. With practice, you’ll gain the finesse needed to capture mesmerizing aerial shots. Remember, it’s all about enjoying the journey—so get out there and start flying!

Preparing for Aerial Photography
Now that you’re well-versed in understanding drone photography and mastering your flight controls, it’s time to prepare for an actual aerial photography session. Preparation can make a significant difference in the quality of your images, and two crucial factors require your attention: checking weather conditions and understanding your drone camera settings.
Checking Weather Conditions
Weather plays a pivotal role in outdoor photography. The right conditions can enhance your images, while unfavorable weather can lead to disappointing results or, worse, accidents. Here’s how to ensure you’re shooting under the best conditions possible:
- Wind Speeds: Ideally, keep wind speeds below 10 mph for better stability. High winds can make flying difficult and might lead to crashes. Always check local weather apps to gauge wind conditions accurately.
- Cloud Coverage: Overcast skies can soften harsh sunlight and create even lighting. However, clear skies often yield vibrant images, especially during sunrise or sunset. Plan your shots accordingly!
- Rain and Precipitation: Avoid flying in the rain, as moisture can damage your drone’s electronics and sensors. If the forecast calls for rain later in the day, consider rescheduling your shoot.
I vividly recall my first aerial shoot, where I bravely ventured out despite ominous clouds. Halfway through, a sudden drizzle grounded my enthusiasm—and my drone! Lesson learned: always check the weather.
Understanding Drone Camera Settings
Once the weather gives you the green light, it’s time to familiarize yourself with your drone’s camera settings. Depending on the model and capabilities, different settings can significantly enhance the quality of your aerial photos. Here’s what to focus on:
- Aperture: Adjusting the aperture helps control how much light reaches the sensor. A lower f-stop (like f/2.8) will provide a shallower depth of field, focusing on your main subject while blurring the background.
- ISO: Keep your ISO low (100-400) on sunny days to avoid graininess, but don’t be afraid to increase it in lower light conditions. Just be cautious, as high ISO can introduce noise to your images.
- Shutter Speed: Fast shutter speeds (1/500 sec or faster) are essential for reducing blur, especially if you’re capturing moving subjects or are high up in the air.
Don’t forget to consider shooting in RAW format! This file type offers more flexibility in post-processing, allowing you to enhance colors and details that can make your aerial photographs pop. Preparation is key in aerial photography. By checking the weather and fine-tuning your camera settings beforehand, you set yourself up for success. Remember, the beauty of aerial photography lies in both the planning and the unexpected surprises nature can offer. Get out there and let your creativity soar!
Finding the Best Locations
With your preparation practically in the bag and your enthusiasm to capture stunning aerial photographs bubbling over, the next step is finding the perfect locations to shoot. This phase combines research and respect for local regulations to ensure a rewarding experience.
Researching Aerial Photography Spots
The world is filled with breathtaking locations just waiting to be captured from above, and knowing where to look can be the difference between a good shot and a great one. Here are a few strategies to help you discover those gems:
- Online Resources: Websites, apps, and communities like Instagram, Flickr, and Google Maps can provide inspiration. Search for hashtags like #dronephotography or #aerialview, and you’ll often stumble across beautiful locations others have shot.
- Local Photography Groups: Joining local photography clubs or online forums can help you connect with fellow drone enthusiasts. Participants often share their favorite spots and tips specific to your area.
- Topographic Research: Use topographic maps to identify hills, mountains, or valleys. Elevated terrains often provide spectacular views and vantage points for shooting.
I remember stumbling across an abandoned lighthouse while researching online—a top recommendation from a photography group. The panoramic views from its height were nothing short of magical, making that trip a delightful surprise!
Following Local Regulations and Policies
As exhilarating as flying your drone can be, familiarity with local regulations is paramount to your safety and the safety of others. Each region has its own rules governing drone usage, and adhering to them not only keeps you compliant but also fosters good relationships with local authorities. Here’s what to keep in mind:
- No-Fly Zones: Familiarize yourself with no-fly zones such as airports, military bases, and national parks. Apps like “B4UFly” can help you quickly check airspace restrictions in your area.
- Altitude Limits: Many regions limit drone flight to a maximum of 400 feet. Ensure you’re aware of these limits to avoid potential fines or, worse, incidents.
- Respect Privacy: Always respect the privacy of individuals—flying over private property can lead to disputes. If you’re ever unsure, it’s best to ask for permission before launching.
I learned this the hard way when I unknowingly flew my drone near a national park that had strict regulations. A friendly park ranger educated me about the rules, and I was grateful for the guidance. Since then, I make it a point to do thorough research ahead of time. Finding the right locations for your aerial photography is an adventure in itself. By doing your due diligence on the best spots and respecting local regulations, you’ll enjoy the thrill of capturing beautiful images while staying safe and compliant. Embrace your creativity and start exploring!

Composition Techniques for Aerial Shots
Now that you’ve identified stunning locations to capture your aerial photographs, it’s time to focus on how to compose those shots effectively. Think of composition as the fine art of arranging elements within the frame to create visually compelling images. Let’s delve into two essential techniques: the Rule of Thirds and Leading Lines.
Rule of Thirds
The Rule of Thirds is a timeless composition guideline that can dramatically enhance your aerial shots. Picture a tic-tac-toe grid laid over your frame, dividing it into nine equal parts. The idea is to position key elements along the grid lines or at their intersections, rather than placing your subject directly in the center. This method typically results in a more dynamic and engaging composition. Here’s how to apply it:
- Key Features: When capturing landscapes, consider placing the horizon along the top or bottom third line. This way, you can emphasize either the sky or the foreground, depending on what makes the shot more compelling.
- Moving Subjects: If your drone is capturing a moving subject—like a car on a winding road—position it along the intersection to give it a sense of movement and flow in the composition.
I remember shooting a coastal view, perfectly divided by the ocean and sky. By aligning the horizon to the upper third, the vibrant sunset colors burst through the scene, creating an inviting and dramatic image.
Leading Lines
Leading lines are another powerful technique to guide the viewer’s eye through your photograph. These lines can be natural or structural elements in the scene that create a flow, leading to the main subject or focal point of your image. Here’s how to use leading lines effectively:
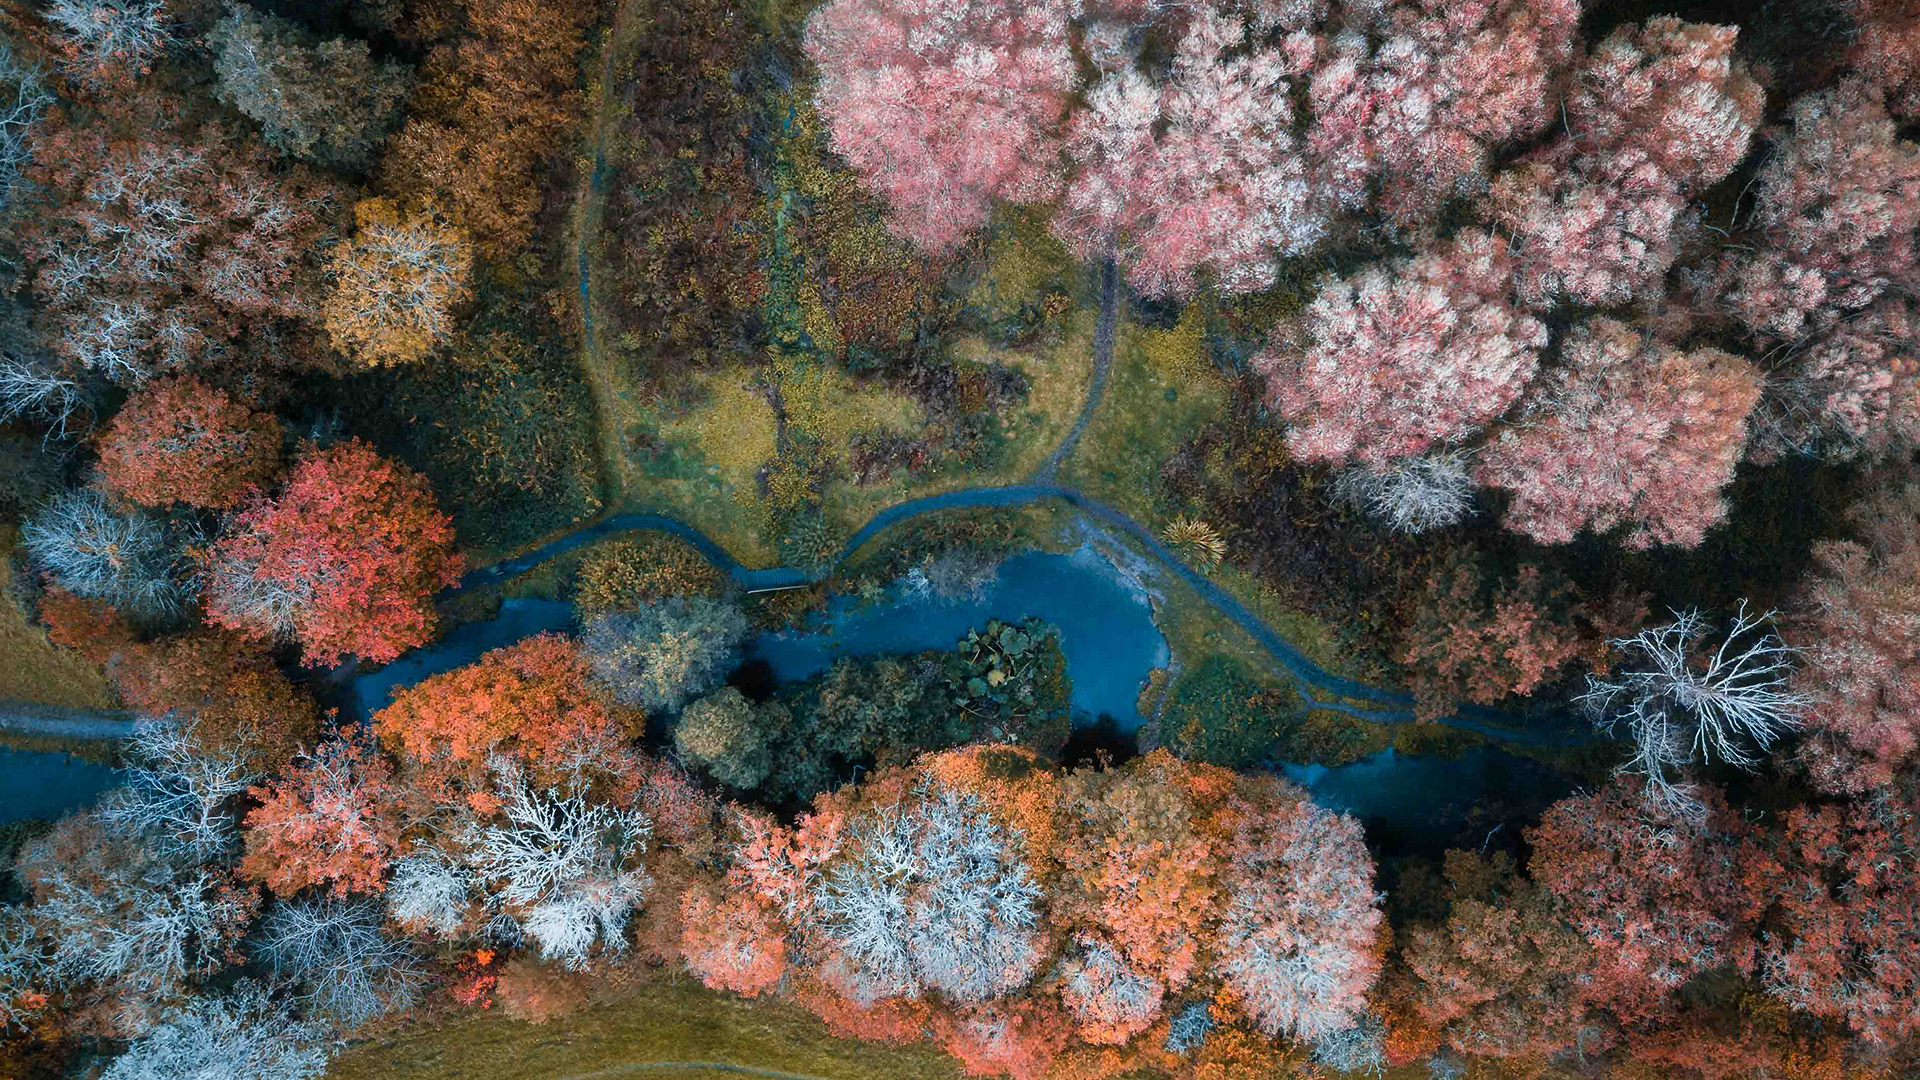
- Natural Elements: Rivers, roads, and pathways can act as visual guides in your aerial shots. Capture them in a way that they lead the viewer’s gaze to a prominent feature—like a mountain, lake, or the sun setting in the distance.
- Creating Depth: Use leading lines to create a sense of depth and three-dimensionality in your photos. By carefully positioning lines, you can make the image feel more immersive and draw the viewer into the scene.
For example, I had the chance to photograph a winding country road from above. By framing the shot with the road leading into the distance, not only did it capture the beautiful landscape, but it also instilled a sense of journey and adventure. Mastering composition techniques like the Rule of Thirds and Leading Lines allows you to elevate your aerial photography to new heights. As you practice, remember that these are guidelines, not strict rules. So go ahead—experiment, adjust, and let your creativity guide you! Enjoy the process of discovering new perspectives as you create stunning images that tell a story.
Utilizing Natural Light
Once you’ve grasped the art of composition, let’s shift our focus to one of the most crucial aspects of photography: lighting. Natural light has the power to transform an ordinary shot into something extraordinarily captivating. Understanding how to utilize it effectively can elevate your aerial photography to the next level. Two key concepts to explore are Golden Hour shooting and avoiding harsh shadows.
Golden Hour Shooting
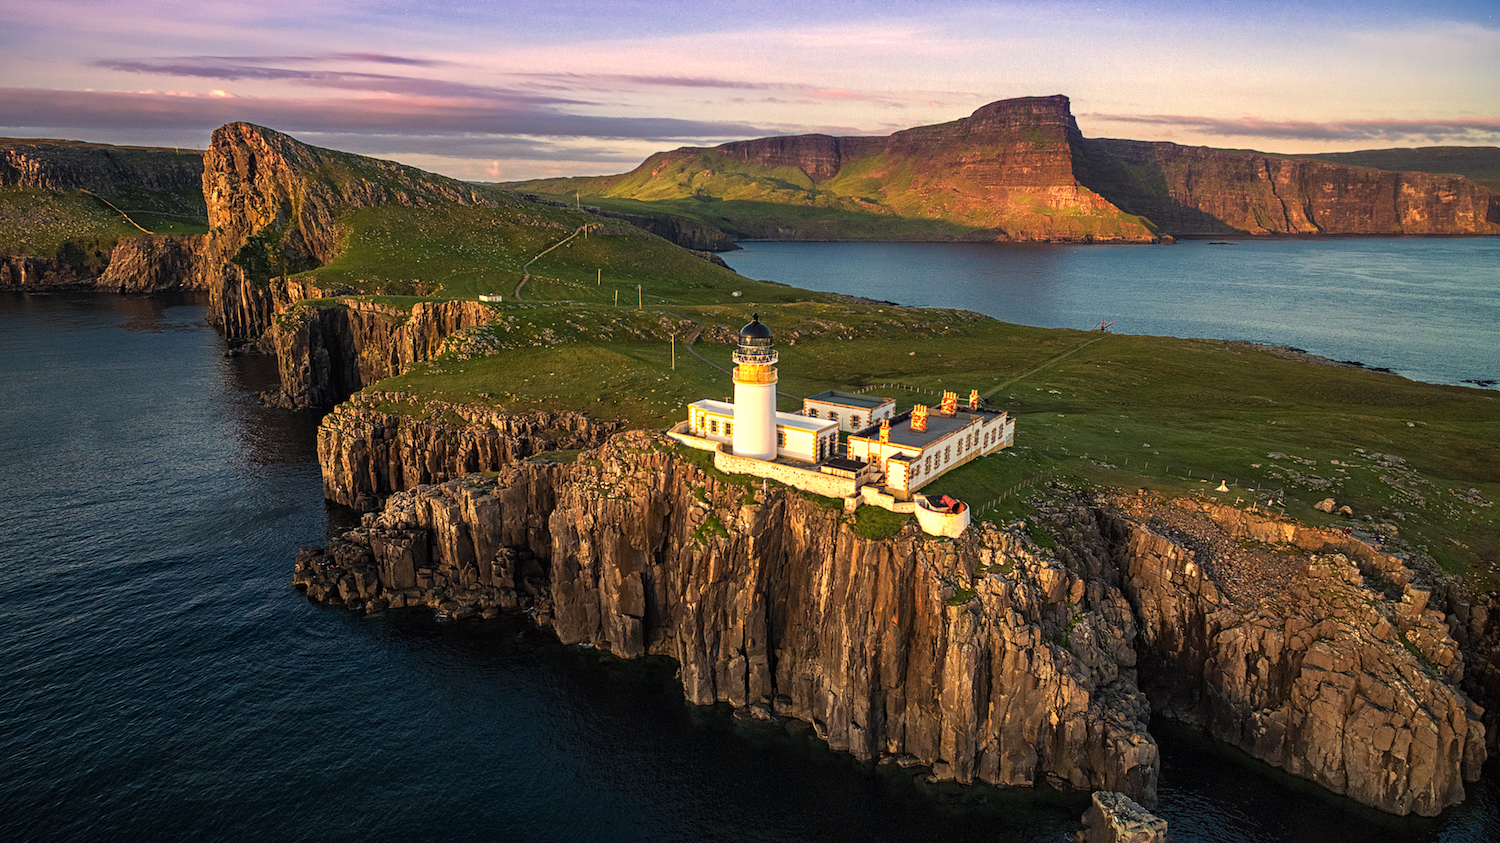
Golden Hour is that magical time right after sunrise and just before sunset when the sunlight appears soft and golden. This is arguably the best time for aerial photography, offering a warm glow that enhances colors and textures in your images. Here’s how to make the most of it:
- Timing is Everything: The golden hour is brief; typically lasting about an hour, so plan your shoots accordingly. Use smartphone apps like “Sun Surveyor” or “Golden Hour” to find out when this time occurs.
- Warmth in Images: The warm hues of sunrise and sunset create stunning contrasts against cooler tones in natural landscapes. This makes your photos pop and gives them an inviting feel.
- Soft Shadows: Those gentle shadows during golden hour add depth to your photos, elevating the visual interest without being overwhelming.
I still remember the first time I shot during golden hour. The way the sunlight danced on the ocean waves from above was nothing short of magical! The warmth and vibrancy took the images to a whole new level.
Avoiding Harsh Shadows
While natural light can be a photographer’s best friend, it can also create challenges, especially when the sun is high in the sky. Harsh shadows can detract from your images, making them flat and unappealing. Here are some strategies for minimizing those harsh shadows:
- Midday Challenges: Try to avoid taking aerial shots during the harsh midday sun (around noon) when shadows become undesirable. If you must shoot at this time, consider finding shaded areas or covering your lens with a polarizing filter to soften the effects.
- Changing Angles: Aim to position your drone in a way that reduces shadows on your subject. Experiment with different angles and heights to see what works best. Sometimes capturing the scene from slightly above can help mitigate shadow issues.
- Cloudy Days: Cloud cover can be a photographer’s secret weapon. Overcast conditions soften light, reducing harsh shadows and producing a more even exposure across your images. Some of my best shots have come from cloudy days when the world seemed to glow with a soft light.
The key to utilizing natural light lies in patience and practice. By harnessing the beauty of golden hour and learning how to avoid harsh shadows, you’ll be able to create striking aerial photographs that leave a lasting impression. Enjoy the journey of experimenting with different lighting conditions, and remember, every time you fly is an opportunity to capture magic in the sky!
Capturing Motion and Dynamics
With your skillset growing and a solid understanding of natural light, it’s time to weave motion and dynamics into your aerial photography repertoire. Capturing movement adds a layer of excitement and story to your images. Let’s explore two effective techniques: using Panoramic Mode and experimenting with different angles.
Using Panoramic Mode
One of the remarkable features in many drones today is Panoramic Mode, which allows you to capture sweeping landscapes in one breathtaking shot. This mode can transform a mundane scene into a dynamic portrayal of your environment. Here’s how to make it work for you:
- Wide Angle: Panoramic Mode is ideal for vast landscapes, city skylines, or stunning natural vistas where a traditional shot wouldn’t do justice to the scene.
- Smooth Movements: Make sure you execute smooth and controlled movements while the drone captures footage. Jittery transitions can ruin the seamlessness of the panoramic effect.
- Stitching Images: If your drone doesn’t have a built-in panoramic feature, consider taking multiple overlapping shots and stitching them together later in post-processing software. Programs like Adobe Lightroom or Photoshop make this process fairly straightforward.
I can still recall a spectacular morning when I flew my drone over a sprawling valley. Using Panoramic Mode, I was able to capture a series of images that created a stunning 180-degree view, showcasing both the rich greens of the valley and the azure sky above. The result was a breathtaking panorama that truly reflected the grandeur of the landscape.
Experimenting with Different Angles
Angles are your gateway to creativity in aerial photography, allowing you to capture dynamic perspectives that many people can’t see from the ground. Here are some tips for exploring different angles:
- High and Low Perspectives: Don’t be afraid to change heights. Shooting from a lower angle can provide unique views of your surroundings, while higher perspectives offer sweeping impressions of the landscape.
- Tilted Shots: Slightly tilting your drone can create a sense of movement and dynamism in your compositions. This technique is particularly effective in landscape shots where you want to emphasize the vastness or direction of the scenery.
- Follow Your Subject: If you’re photographing moving subjects, such as a car, cyclist, or animals, practice panning your drone alongside their movement. This adds a sense of speed and excitement to your imagery.
During a recent shoot, while following a group of surfers, I decided to experiment with tracking and tilting the drone to match their movements. The dynamic shots captured not only the surfers but also the waves crashing around them, creating a narrative of adventure and thrill. Capturing motion and dynamics in your aerial photography enriches the viewer’s experience and tells a story unique to each shot. By employing Panoramic Mode and exploring various angles, you can create images that resonate with energy and depth, elevating your artistry as a photographer. So grab your drone and let your creativity take flight!
Post-Processing Tips for Aerial Photos
After capturing breathtaking aerial photos, the next step is bringing those images to life through post-processing. Editing allows you to amplify the beauty of your shots, making use of the vibrant colors and stunning contrasts that can be found in nature. Let’s dive into two critical aspects of post-processing: enhancing colors and contrast, and removing distractions in the image.
Enhancing Colors and Contrast
When it comes to aerial photography, color and contrast are your friends. A little editing can transform an already stunning photograph into an awe-inspiring piece of art. Here’s how to effectively enhance these elements:
- Adjust Saturation and Vibrancy: Increasing the saturation can make colors pop, but be cautious! Subtlety is key—overdoing it can lead to unrealistic images. Instead, adjust the vibrancy to enhance the less dominant colors without affecting skin tones, if present.
- Boosting Contrast: By increasing contrast, you can create depth in your images. This gives a more three-dimensional feel, making landscapes look more dramatic. Use the contrast slider to balance the shadows and highlights, ensuring you retain detail in both areas.
- Utilizing Curves: If you’re familiar with photo editing software like Adobe Lightroom or Photoshop, using the curves tool can provide precise control over how light and color are adjusted in various tonal ranges.
I remember editing a photo I took of a sunrise over a mountain range. After slightly increasing the contrast and enhancing the colors, the sky transformed into a breathtaking display of oranges and purples, making the landscape feel almost magical.
Removing Distractions in the Image
No photograph is perfect, and distractions can easily take away from the overall impact of your aerial shots. Thankfully, with photo editing software, removing these elements is easier than ever. Here’s how to do it:
- Clone Tool: Use the clone or healing tool in your editing software to eliminate unwanted elements in your frame. This could be people, power lines, or any other distracting objects that draw the viewer’s eye away from your main subject.
- Crop with Purpose: Sometimes distractions are better eliminated through careful cropping. By focusing on the primary elements in your photo, you can create a more compelling composition.
- Adjustment Brush: Many editing programs allow you to make selective adjustments to specific areas of your photo. Use this feature to darken or lighten sections that might draw attention away from your subject.
For instance, I once captured a stunning coastal view but later noticed a boat in the foreground that distracted from the cliffs and sunset behind it. A quick use of the clone tool helped me remove the boat, resulting in an image focused solely on the beauty of the dramatic landscape. Post-processing is where you can truly express your creative vision and enhance your aerial photographs’ impact. By focusing on enhancing colors and contrast, and removing distractions, you can transform a good photo into a truly stunning work of art. Let your creativity flow in the editing room, and watch your aerial masterpieces come alive!
Safely Operating Your Drone
Once you’ve honed your aerial photography skills, it’s essential to ensure that you operate your drone safely and responsibly. Understanding safety protocols not only protects your investment but also ensures a positive experience for everyone—including fellow drone enthusiasts and the general public. Let’s delve into two crucial safety practices: maintaining line of sight and avoiding no-fly zones.
Maintaining Line of Sight
One of the fundamental rules for safe drone operation is to always keep your drone within your line of sight. This practice is crucial for several reasons:
- Avoiding Obstacles: Keeping your drone visible helps you navigate around trees, buildings, and other obstacles that could cause accidents. It allows you to react quickly if your drone drifts into a restricted area or encounters unexpected hazards.
- Error Prevention: Maintaining line of sight reduces the likelihood of losing control of the drone. When you can see it, you’re more aware of its positioning and are less likely to make mistakes that could result in crashes.
- Legal Compliance: Most regulatory bodies, such as the FAA in the United States, require operators to maintain visual line of sight. Not adhering to this rule can not only endanger your drone but also lead to potential fines.
I remember my first solo flying experience—my excitement was palpable! I had designated a large field as my flight area and made it a point to keep my drone in view at all times. It gave me the confidence to practice various maneuvers without the fear of losing control.
Avoiding No-Fly Zones
Understanding and respecting no-fly zones is another vital element of safe drone operation. These zones are set in place for safety reasons and often include:
- Airports and Heliports: Drones should not be flown within a certain distance of these locations, as they can interfere with manned aircraft.
- Crowded Areas: Avoid flying over large gatherings, such as concerts or sporting events, to protect people and ensure their safety.
- Sensitive Areas: National parks, military bases, and certain wildlife habitats may have restrictions in place. Always check local regulations to ensure compliance.
To avoid flying in restricted areas, consider using apps designed for drone operations, such as “AirMap” or “DroneBuddy.” These can provide you with real-time information about airspace restrictions. During my drone adventures, I once planned a shoot near a popular beach, only to discover I was very close to a restricted area. I quickly rerouted my plans to ensure I didn’t violate any regulations. This experience reinforced the importance of doing thorough research before heading out. Operating your drone safely doesn’t just protect your equipment; it safeguards the interests of others as well. By maintaining line of sight and avoiding no-fly zones, you contribute to a safer flying environment and enjoy a more fulfilling aerial photography experience. So get out there, enjoy the skies, and always prioritize safety!

Conclusion
As we wrap up our exploration of aerial photography, it’s clear that this fascinating hobby has the potential to unlock unparalleled perspectives and breathtaking imagery. From the initial excitement of launching your drone to the careful art of capturing stunning photographs, every step offers its own unique thrill and challenge.
Embrace the Journey
Photography is as much about the journey as it is about the destination. Each flight presents an opportunity to learn and improve. Remember, you might encounter a few hurdles along the way—like unexpected weather changes or technical issues—but these experiences will only add to your overall growth as a photographer. Here are some key takeaways as you continue your aerial photography adventure:
- Practice Frequently: The more you fly, the more comfortable you will become with your equipment and how to compose remarkable shots.
- Stay Curious: Always be willing to experiment with new techniques, whether it’s different angles, compositions, or post-processing methods.
- Reflect on Your Work: Reviewing your previous images can provide insights into what worked well and what could be improved in future shoots.
I recall my early days of flying when I was hesitant and unsure of my skills. Over time, with each successful flight, my confidence grew—and so did my creativity. The images I capture now truly reflect my unique perspective, showcasing places and moments that resonate with my personal style.
Cultivating a Responsible Drone Community
As you embark on your aerial photography journey, also keep in mind the importance of being a responsible member of the drone community. By adhering to local regulations, maintaining safety protocols, and respecting others’ privacy, you contribute positively to the perception of drone enthusiasts everywhere. Engaging with fellow drone users and sharing your insights can be incredibly rewarding. Participating in community groups, both online and offline, can foster friendships, provide valuable tips, and inspire creativity. In conclusion, aerial photography offers an exciting way to see the world from above and capture unforgettable moments. Whether you’re documenting your travels, exploring local landscapes, or simply enjoying the thrill of flying, take every opportunity to learn and grow along the way. Each flight is a chance to create something beautiful—embrace the journey, stay curious, and continue to let your creativity soar. Happy flying!
